
TypeScript Feature Flags: A Next.js Example


What is a feature flag?
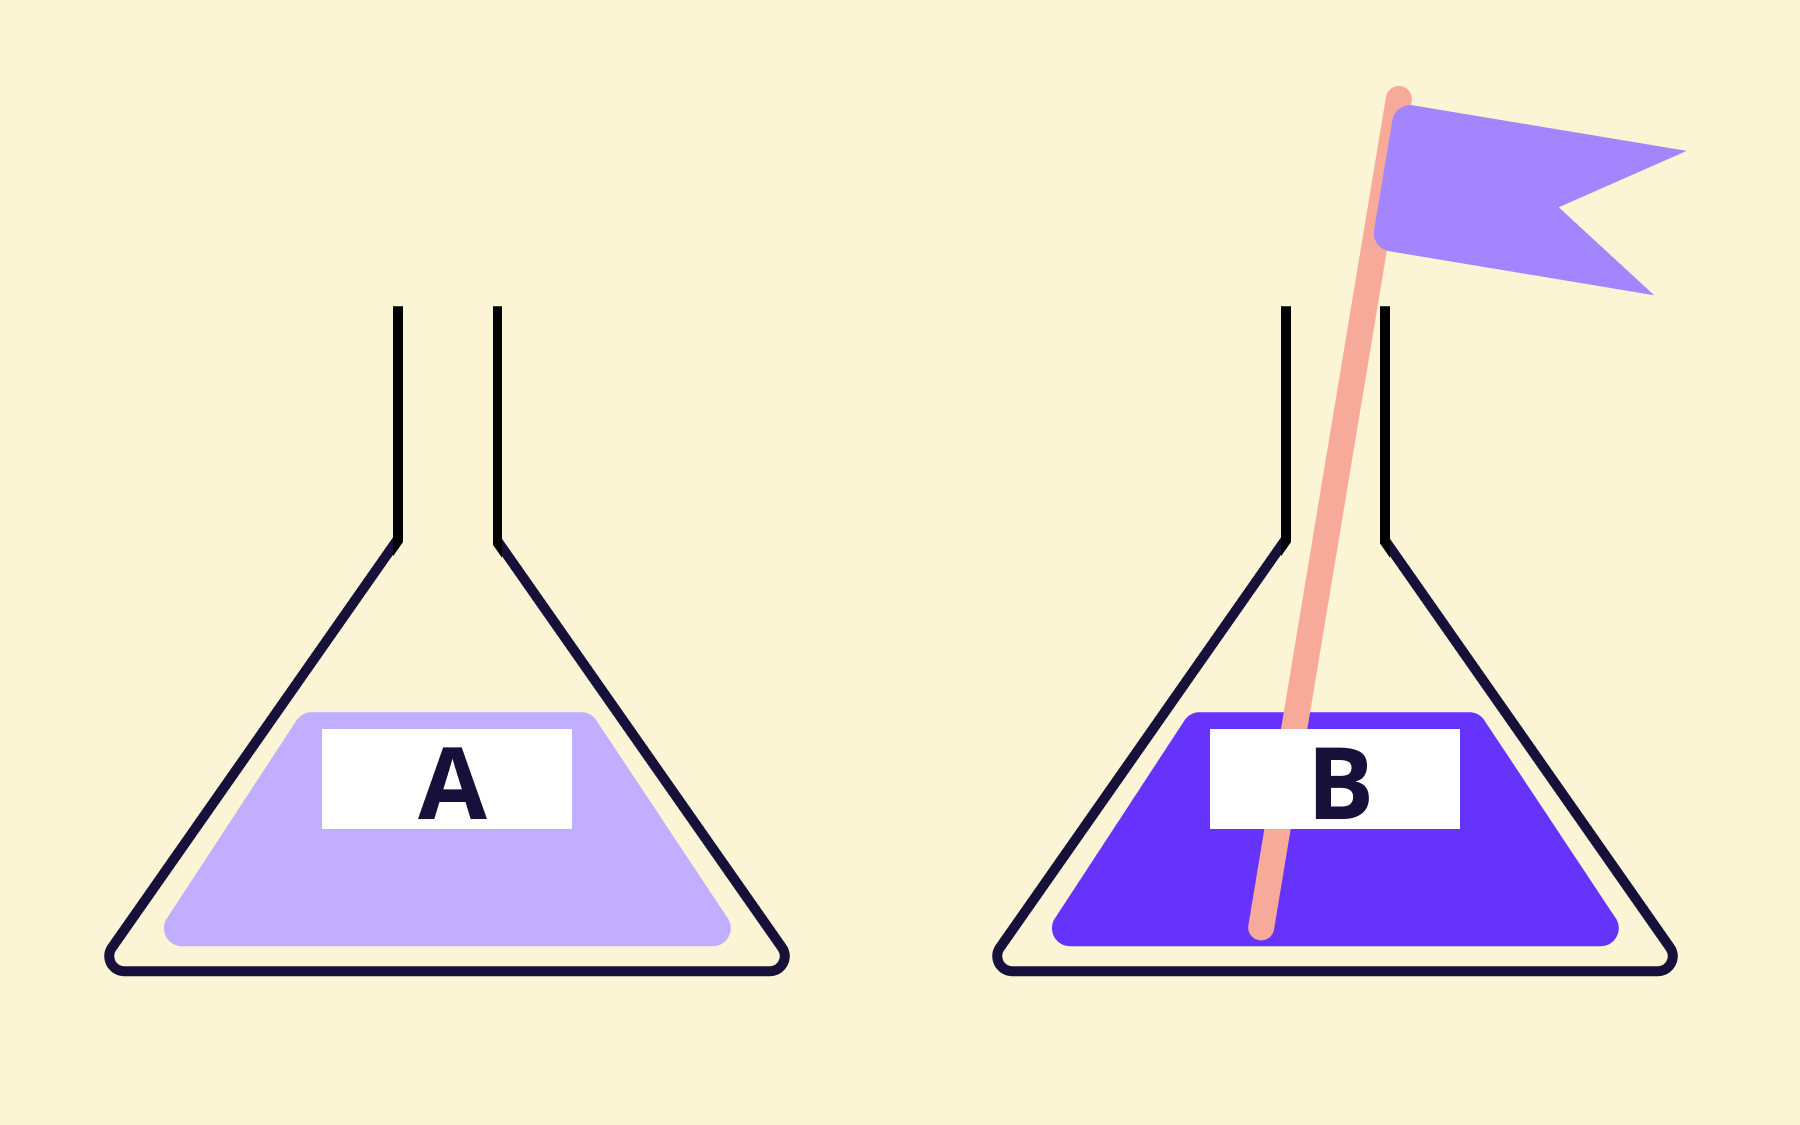
In software engineering, a feature flag is a toggle used to control the availability of a feature within a codebase.
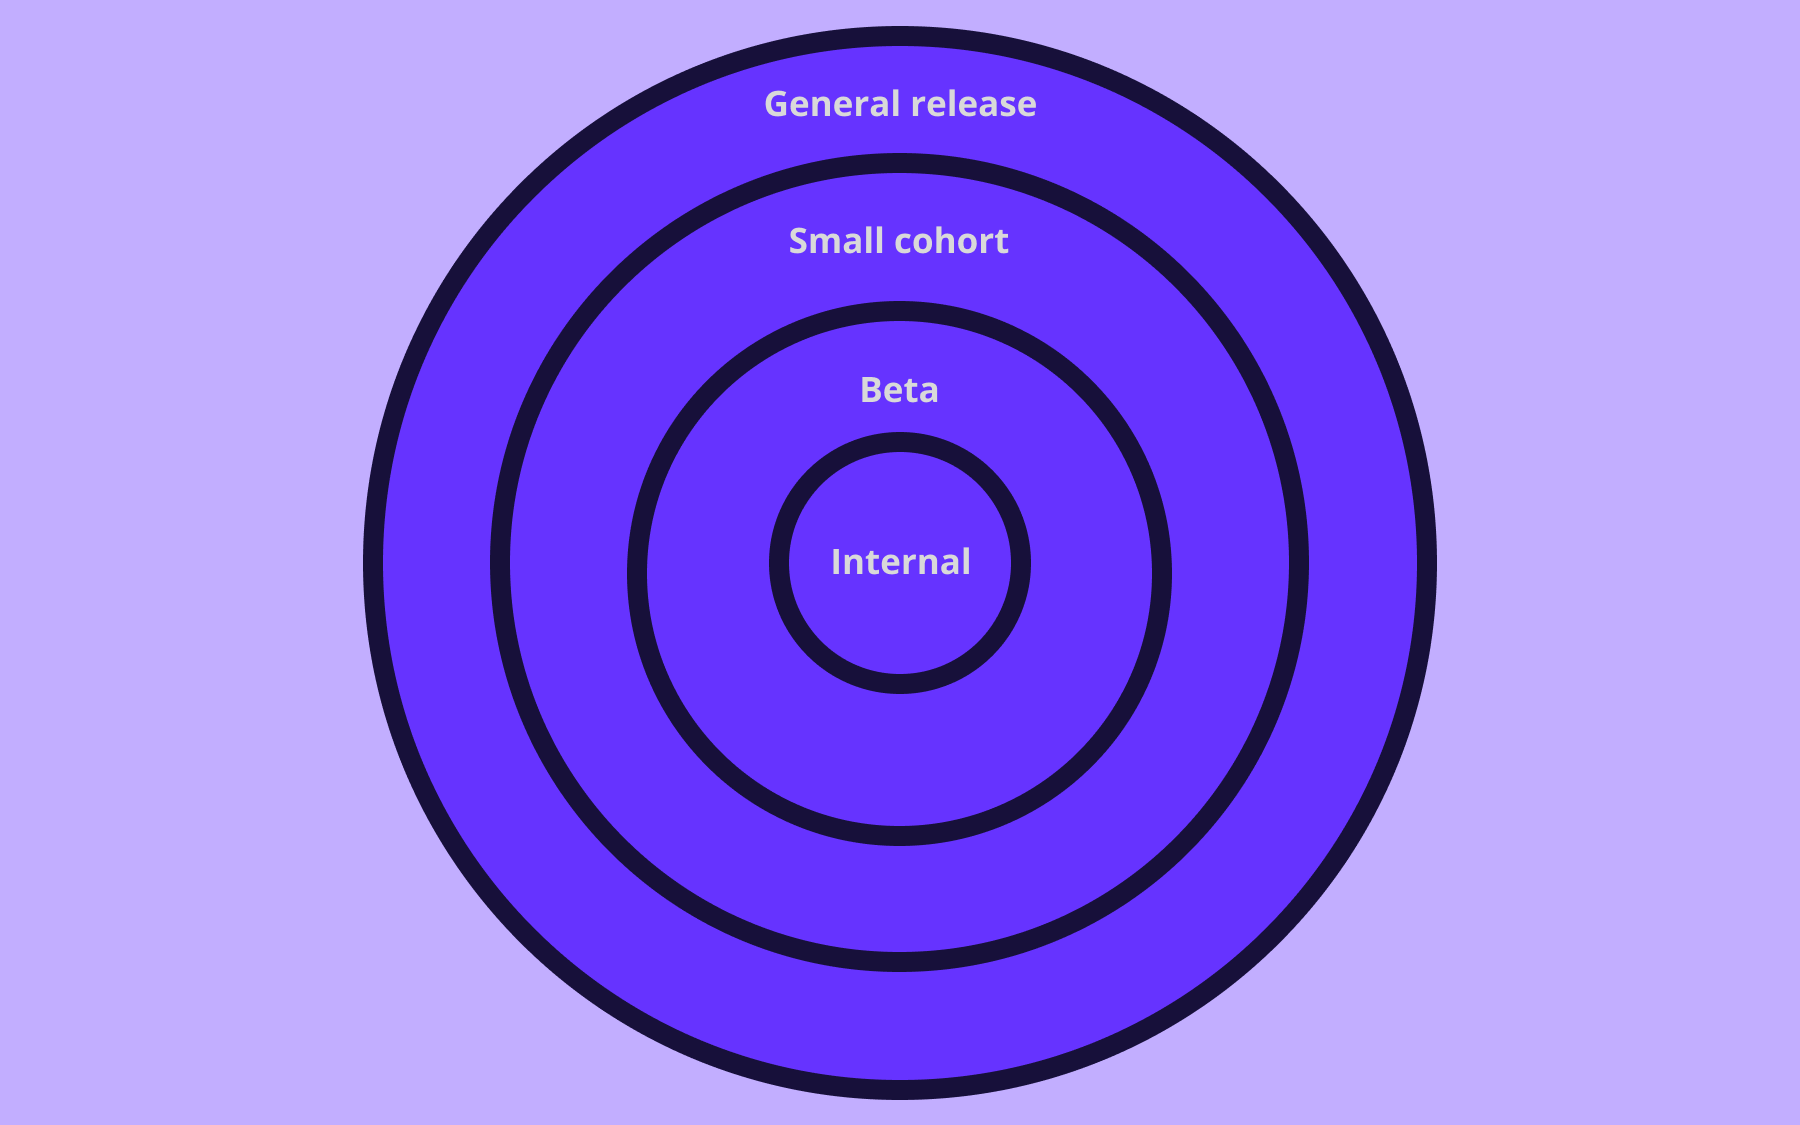
For example, a banking app might need to roll out a new variant of beta “mobile deposit” functionality to a specific subset of users. Feature flags make it possible for the bank to set up a toggle to remotely turn this feature on or off, or to modify the list of users receiving the experience—without redeploying the app.
Flagsmith simplifies this process by providing a secure dashboard to help manage the feature flags and their associated state within your applications.
In this article, we’ll dive into how to set up feature flags with Flagsmith in TypeScript, along with some working examples in the Next.js framework.
If you’d like to learn more about feature flags and best practices in general, read up here.
What is TypeScript?
TypeScript is a superset of JavaScript developed by Microsoft. The primary difference between TypeScript and JavaScript is that TypeScript supports a robust type-checking and interface system to strictly define types within a codebase. TypeScript comes with powerful type inference as well, which can greatly assist with ensuring that the correct data types are passed and accepted between functions.
When developing a project that uses TypeScript, the TypeScript compiler will first validate all the TypeScript code’s types and interfaces, then it will compile it to JavaScript which can be run normally in the browser (frontend) or Node.js (backend). In the end, the types are not hard-coded into the output, nor is the running code actively type-checked in real time.
In a sense, TypeScript is a form of quality assurance that has to pass before the code can be compiled to JavaScript; this helps identify problems and incompatibilities before they get deployed. Learn more about TypeScript here.
Demo tutorial: Flagsmith with TypeScript in Next.js
Let’s dive into a demo project and get acquainted with Flagsmith in TypeScript within the context of Next.js!
There are some recommended prerequisites for the best experience in following this tutorial:
- Basic understanding of git or GitHub Desktop to clone the repository locally.
- General familiarity with TypeScript.
If you’re unfamiliar with git, freeCodeCamp has a great resource available. For those new to TypeScript, check out this article to learn more!
If you’re already familiar with Flagsmith and have a solid understanding of TypeScript, you can skip all the boilerplate and Next.js-specifics by clicking here.
Setting up Flagsmith
To get going, first we’re going to ensure we have a Flagsmith account set up. If you don’t have an account and organisation, head over to app.flagsmith.com and register.
After registration, you’ll be prompted to create an organisation:

Then, set up a project:

Excellent! Now that we have our project, let’s generate a client-side key that we can use when we dive into the codebase. Find “SDK Keys” in the left-hand nav, and create a client-side environment key.

How to set up feature flags
We’re going to create two new feature flags: welcome_message, and beta_users. We’ll be using these within the codebase soon.
Feature Flag: Welcome Message
Let’s name this flag welcome_message and give it any text value you’d like. In the screenshots, we’re using “Hello! Welcome to the demo!”
The “Enabled by default” toggle can be on.

Feature Flag: Beta Users
Let’s add a beta_users feature flag, and the value can be empty. This flag is meant to be used as an allow-list for certain users to be able to access a specific area of the demo site, and we’ll use Flagsmith Segments to accomplish this.
“Enabled by default” can be set to off.

After the beta_users flag is created, click into it to edit, and we’ll add a new segment. Let’s call this segment flagsmith_users, and set the name to email. We’ll use a regex to match all emails that end in “flagsmith.com” via regex value .*flagsmith.com

After saving the segment, let’s activate it!

Nice! Now we have two feature flags ready to use:
- welcome_message with a text value.
- beta_users that relies on a segment override, targeting user emails that end in “flagsmith.com”
Setting up the demo Next.js project
Head over to GitHub and clone the flagsmith-js-examples repository.
Once it’s cloned locally, open the folder in your IDE of choice and set it up with:
cd ./nextjs-approuter

npm install
Next, copy the .env.example file to .env in the same location, and update the key value. Example:

Finally, spin up the app by running npm run dev and you should see a successful start in the terminal, as well as a site loading on http://localhost:3000. You should see your text-value welcome message in the homepage:

Nice! In the next section, we’ll explore what’s going on under the hood here.
How Flagsmith works in Next.js
The Next.js version in this demo uses React v19, which supports React Server Components. There are two directives to tell code where to run. The default in Next.js is ”use server”, which processes the code on server-side. There is also ”use client” which handles the client-side in the browser.
Some React features are only available in client-side code, but not in server-side… and vice-versa. To help differentiate the concept, here is an example use case for each:
- ”use server” functions run server-side and can handle database access or other backend interactions. In this demo, we’re using server-side code to initialise Flagsmith and fetch all feature flag data.
- ”use client” functions run in-browser and have access to the DOM and browser events. In this demo, the feature flag data fetched from server-side gets populated in a Context API to share the state of feature flags with client-side components.
Initialising Flagsmith in Next.js
The Next.js app router (since v13) has a layout.tsx file that is used to wrap every client-facing page that gets rendered in the browser. This layout is where we want to initialise and prepare Flagsmith for further use down the line by child components.
The key code in the layout.tsx implementation for Flagsmith is:
// app/layout.tsx

import FeatureFlagProvider from '@/app/components/FeatureFlagProvider'

// getFlagsmith is a helper function that we'll dive into below!
import { getFlagsmith } from './lib/flagsmith'

export default async function RootLayout({
  children,
}: Readonly<{
  children: React.ReactNode
}>) {
  const flagsmith = await getFlagsmith()
  const serverState = flagsmith.getState()

  return (
    <html lang='en'>
      <FeatureFlagProvider serverState={serverState}>
        {/* child components that can run the useFlags() hook later */}
      </FeatureFlagProvider>
    </html>
  )
}
What this is doing:
- Initialises Flagsmith via the getFlagsmith() helper function. More on this later.
- Requests the state (“serverState”) of feature flags from Flagsmith via flagsmith.getState() method.
- Passes the feature flag state into the FeatureFlagProvider component. This provider will allow us to use the useFlags() client-side hook later down the line in child components, from anywhere in the app.
Let’s break down the contents of the FeatureFlagProvider component:
// app/components/FeatureFlagProvider.tsx

'use client'

import { FC, ReactNode, useRef } from 'react'

import { FC, ReactNode, useRef } from 'react'
import { IFlagsmith, IState } from 'flagsmith/types'
import { FlagsmithProvider } from 'flagsmith/react'
import { createFlagsmithInstance } from 'flagsmith/isomorphic'

type FeatureFlagProviderType = {
  serverState: IState
  children: ReactNode
}

const FeatureFlagProvider: FC<FeatureFlagProviderType> = ({
  serverState,
  children,
}) => {
  const flagsmithInstance = useRef<IFlagsmith>(createFlagsmithInstance())
  return (
    <FlagsmithProvider
      flagsmith={flagsmithInstance.current}
      serverState={serverState}
    >
      <>{children}</>
    </FlagsmithProvider>
  )
}

export default FeatureFlagProvider
The FeatureFlagProvider component is running the following steps:
- Creates a flagsmithInstance and assigns it to a ref via useRef(), which allows this instance to remain unchanged between renders.
- Passes in the serverState from the initial call to the Flagsmith servers to get the state of feature flags… this call was performed higher up in the layout.tsx component, which is not bound by the constraints of ”use client” that we have here (client components can't run top-level async code, so feature flag data must be fetched on the server).
- Returns the FeatureFlagProvider around any children components that are passed in from the higher-level layout.tsx file.
What does this mean? Well, now we can use Flagsmith’s useFlags() client-side hook anywhere else in our client-side components! We can see this in action within the WelcomeMessage component, which we’ll dive into now.
Flagsmith in Next.js: Client-side
Let’s take a look at the homepage, app/page.tsx. There is a fair amount of code in this page to render what we see below:
However, we’re going to focus on the little bit in the centre which says “Hello! Welcome to the demo!”
This text snippet is being rendered from the WelcomeMessage component. Let’s take a look at this code:
// app/components/WelcomeMessage.tsx

import { FC } from 'react'
import { useFlags } from 'flagsmith/react'

type WelcomeMessageType = {}

const WelcomeMessage: FC<WelcomeMessageType> = ({}) => {
  const { welcome_message } = useFlags(['welcome_message'])

  if (!welcome_message.enabled) {
    return null
  }

  return (
    <div className='border border-1 rounded border-secondary p-2'>
      <code>{welcome_message.value}</code>
    </div>
  )
}

export default WelcomeMessage
There’s a few key parts to this component:
- const { welcome_message } = useFlags(['welcome_message']) is using the useFlags() hook provided by the flagsmith/react package to request details on the specific flag, welcome_message. This is returning an object that contains a boolean value for enabled and an associated value.
- If the flag is turned off, then null gets returned from the component, so rendering is skipped.
- If the flag is turned on, then the flag’s value property gets rendered in the code element.
This component is rendered within the parent page.tsx (which is a ”use client” component), so therefore this WelcomeMessage component is also using ”use client” by default. This is why we can use the useFlags() hook to check flag data that was populated via the aforementioned FeatureFlagProvider.
Let’s head over to Flagsmith, and turn this welcome_message flag off:

Then, head back to the homepage and refresh:

The message is gone! You can also experiment with changing the message’s value. The results should be visible after a page refresh.
Note: The demo project has some console.log statements which will show you the state of the feature flags when you load a page. See example below, from the terminal:
serverState {
  api: 'https://edge.api.flagsmith.com/api/v1/',
  flags: {
    welcome_message: { id: 142494, enabled: true, value: 'Hello! Welcome to the demo!' },
    beta_users: { id: 142495, enabled: false, value: null }
  },
  ts: undefined,
  evaluationContext: {
    identity: undefined,
    environment: { apiKey: '1234567890ABCDEFG' }
  },
  identity: null,
  evaluationEvent: null
}
The flags property contains all our feature flag details. Neat, right?
Feature Flags in Next.js: Server-Side
Alright, now that we’ve established the client-side workflow, let’s take a look at how we can harness the power of feature flags on server-side, outside the context of the FeatureFlagProvider’s scope.
Without signing in to the mock login form, take a look at the “Beta” demo page here: http://localhost:3000/beta
You should see something like this:

So, what’s happening here? Let’s take a look at the app/beta/page.tsx component in the demo project to find out:
// app/beta/page.tsx

import { BetaPage } from './BetaPage'
import { RestrictedPage } from './RestrictedPage'
import { UnauthorizedPage } from './UnauthorizedPage'
import { getDefaultUser } from '@/app/utils/getDefaultUser'
import { checkFeatureFlag } from '@/app/lib/flagsmith'

export default async function RestrictedBeta() {
  const defaultUser = await getDefaultUser()

  // Unauthorized users are served the UnauthorizedPage because
  // they are not logged in.
  if (!defaultUser) return <UnauthorizedPage />

  // Check if the user is a beta user.
  const { enabled: isBetaUser } = await checkFeatureFlag('beta_users')

  // Regular users are served the RestrictedPage because
  // they are not beta users.
  if (!isBetaUser) return <RestrictedPage />

  // Beta users are served the BetaPage because
  // they are beta users.
  return <BetaPage />
}
Since we are not signed in, we’re viewing the UnauthorizedPage component in the browser.
What happens if we sign in? Well, remember the beta_users feature flag earlier? This flag is turned on or off based on the value of the signed-in user’s email address.
Based on this segment, we know that test@flagsmith.com is a user who should be allowed to view the Beta page.
Let’s sign in with a user who is not supposed to be able to view the Beta page:

Use any random email address and password, and you should be able to “Log in” and see something like this:

Looks like we signed in without having access to the Beta page! This is determined by this code snippet from the page.tsx file:
// Check if the user is a beta user.
const { enabled: isBetaUser } = await checkFeatureFlag('beta_users')

// Regular users are served the RestrictedPage because
// they are not beta users.
if (!isBetaUser) return <RestrictedPage />
So, what happened here? While the enabled property returned by checkFeatureFlag(‘beta_users’) is a boolean, its final value is determined by a Flagsmith Trait that was sent along with our initialisation. We’ll review this shortly.
Let’s sign out and sign in with the test@flagsmith.com email address to see what happens when we’re allowed to access:

Voila! You should see success:

Awesome! This process and user experience was determined by the presence and values of a feature flag that was processed on the server-side.
Now that we’ve seen the results of the configuration, let’s dig deeper into the underlying mechanics that make this possible.
Working with feature flags in TypeScript with Flagsmith
While Next.js is an incredibly powerful full-stack framework, it’s just one of many options to choose from. There are numerous TypeScript-supported frameworks available to choose from including Vue, Gatsby, Astro, and more.
Or maybe you want to use feature flags on the client-side only within a React library. Or, you want to harness the power of feature flags on a server-side Node.js + TypeScript setup. There’s so many options!
Thankfully, the approach used in this tutorial can be easily used across a myriad of frameworks and configurations. This is due to the fact that the Flagsmith integration itself is abstracted into helper functions. There are three used in this demo project, but it could make sense to create more depending on your use case.
Let’s dive into the code!
First things first: Why use TypeScript for feature flags?
Using TypeScript with Flagsmith helps ensure that your codebase matches your Flagsmith integration. When you add or remove a flag from Flagsmith, you can mirror the change in your code; and vice-versa.
Feature flag definitions
Let’s take a look at the app/lib/flags.ts type definitions first:
/**
 * The names of the feature flags in Flagsmith. We use this type
 * to ensure that we are using the correct feature flag names in the app.
 * If there's a typo or a mismatch, the build will fail.
 */
export type FeatureFlagName =
  // Welcome message is a simple feature flag that we can use to
  // test the feature flag integration. It is a "txt" value type and
  // will be rendered in the app on client-side.
  | 'welcome_message'
  // Beta users is a feature flag that depends on the signed-in
  // user's email being passed in as a trait, to be tested against
  // the segment override in Flagsmith.
  | 'beta_users'
We accomplish two things by setting types here:
- Type Safety - whenever we pass a feature flag name as a parameter to our helper functions, TypeScript will validate that the value matches one of our available options. If it does not match, our build will fail! This can help ensure that errors don’t creep into production.
- Documentation - we can also document the purpose of each feature flag directly in the code for other developers (and our future selves!)
Feature flag helper functions
Next, let’s peek at the helper functions in app/lib/flagsmith.ts below:
// app/lib/flagsmith.ts

import { HasFeatureOptions, IFlagsmith } from 'flagsmith'

import type { FeatureFlagName } from './flags'
import { User } from '@/app/types'
import flagsmith from 'flagsmith/isomorphic'
import { getDefaultUser } from '../utils/getDefaultUser'
import { getTraits } from '../utils/getTraits'

type FeatureFlagValue = string | number | boolean | null

/**
 * Initialize the Flagsmith client.
 *
 * @returns {Promise<IFlagsmith>}
 */
export async function getFlagsmith(): Promise<IFlagsmith> {
  const defaultUser = await getDefaultUser()
  const traits = getTraits(defaultUser)

  await flagsmith.init({
    // Although this init is done on the server, the environment key is
    // public and can be accessed by the client because the key gets passed
    // with state to the client-side Provider component (it is not a secret).
    environmentID: process.env.NEXT_PUBLIC_FLAGSMITH_ENVIRONMENT_KEY || '',
    identity: defaultUser?.id,
    traits,
  })

  return flagsmith
}

/**
 * Check if a feature flag is enabled, and return its associated
 * value.
 *
 * @param {string} flagName
 * @param {HasFeatureOptions} options
 * @returns {Promise<{ enabled: boolean, value: FeatureFlagValue }>}
 */
export async function checkFeatureFlag(
  flagName: FeatureFlagName,
  options?: HasFeatureOptions,
): Promise<{ enabled: boolean; value: FeatureFlagValue }> {
  const flagsmith = await getFlagsmith()

  const value = flagsmith.getValue(flagName)
  const enabled = flagsmith.hasFeature(flagName, options)

  return { enabled, value }
}
It’s kind of big, so we’re going to step through one function at a time.
Instantiating a Flagsmith instance
Let’s start with the getFlagsmith() helper:
// app/lib/flagsmith.ts

export async function getFlagsmith(): Promise<IFlagsmith> {
  const defaultUser = await getDefaultUser()
  const traits = getTraits(defaultUser)

  await flagsmith.init({
    // Although this init is done on the server, the environment key is
    // public and can be accessed by the client because the key gets passed
    // with state to the client-side Provider component (it is not a secret).
    environmentID: process.env.NEXT_PUBLIC_FLAGSMITH_ENVIRONMENT_KEY || '',
    identity: defaultUser?.id,
    traits,
  })

  return flagsmith
}
This helper should only be called when it’s necessary to acquire a flagsmith instance. This flagsmith instance can be used to query Flagsmith’s APIs to fetch available feature flag information for later use in the app.
Depending on your application, you may want to modify or omit the identities and traits properties.
In this example, however, the trait property is how we’re sending the email value into our Segment Override for the beta_users flag! With this setup, the boolean value of beta_users is returned based on the value of the email trait we’re sending in. If you hover over the traits definition in your IDE, you can see that the result of getTraits includes the email property:

Notice the getFlagsmith() function returns a Promise with a value matching the interface IFlagsmith. This means that when acquiring your flagsmith instance, ensure it’s acquired within an async function, and either uses the await operator or is chained with .then() on success.
Example with await:
const flagsmith = await getFlagsmith()Example with .then():
getFlagsmith().then((flagsmith) => {
  // Do something with `flagsmith`
});
Cool! Now that we know how to get a flagsmith instance using this helper function, what can we do with it?
Querying for feature flags
Using the flagsmith instance, we can query for feature flags using a combination of the getValue() and hasFeature() methods. There are also numerous additional methods available on the flagsmith instance; read more about those in the JavaScript documentation here.
The below helper function called checkFeatureFlag utilises these two methods after instantiating a flagsmith instance:
// app/lib/flagsmith.ts

export async function checkFeatureFlag(
  flagName: FeatureFlagName,
  options?: HasFeatureOptions,
): Promise<{ enabled: boolean; value: FeatureFlagValue }> {
  const flagsmith = await getFlagsmith()

  const value = flagsmith.getValue(flagName)
  const enabled = flagsmith.hasFeature(flagName, options)

  return { enabled, value }
}
Wait, what is FeatureFlagName and HasFeatureOptions?
Remember our app/lib/flags.ts type definitions? That’s where FeatureFlagName originates. By assigning the type to the flagName parameter here, we’re ensuring that we can only pass in valid feature flag names when calling the checkFeatureFlag function.
Example of valid Flag Name parameter:

Example of invalid Flag Name parameter

Oops! I forgot the “s” in “beta_users”... if this went to production, it would always return false because this flag doesn’t exist! Nobody would be able to access the Beta!
Thankfully though, TypeScript stepped in and highlighted the issue in the code editor. It doesn’t stop there though! TypeScript will cause the build to completely fail if there is a type mismatch in the codebase.
Nice… what about the HasFeatureOptions type? Where does that come from?
Well, Flagsmith itself leverages TypeScript internally, and the HasFeatureOptions is a built-in type definition to describe the available options that can be passed into the hasFeature method. If you hover your mouse over the type, you can see more information about it:

Now, let’s get back to the helper function. Essentially, what it does under the hood is:
- Create a flagsmith instance.
- Look for a value of a flag with flagsmith.getValue(flagName)
- Look for whether the flag is turned on with flagsmith.hasFeature(flagName, options)
- Return the { enabled, value } object.
Note that the helper returns a promise! In order to call it, we need to use await operator, or .then() chaining.
> Note: the flagsmith.getValue method will return the value of a flag whether or not the flag is toggled on. This is why we also call the flagsmith.hasFeature method to determine its boolean status.
Conclusion
This is some powerful feature flag support! All thanks to the strict type-safety of the TypeScript compiler in tandem with Flagsmith’s developer-friendly approach to feature flag configuration. With this level of quality and structure, you can confidently configure your TypeScript applications using feature flags with Flagsmith.
More Reading: Feature flags and other languages/frameworks
If you enjoyed this guide, check out our documentation or read some of our other language/framework guides:


OpenTelemetry, without the vendor lock-in: Introducing full observability for Open Source and Self-Hosted Flagsmith customers


.png)
.png)

.png)

.png)


.png)


.webp)