
How to Use JavaScript Feature Flags & Toggles to Deploy Safely [React.js Example]


JavaScript Feature Flags Introduction
Feature flags (aka feature toggles) in any language significantly reduce the blast radius of a release if anything goes wrong. Feature flags in JavaScript are no exception. We already shared the guide on how to use feature flags in Node.js. In this post, you will learn how to use Javascript feature toggles in a React.js application to deploy a small feature safely to your users. Let’s get started!
What is a feature flag?
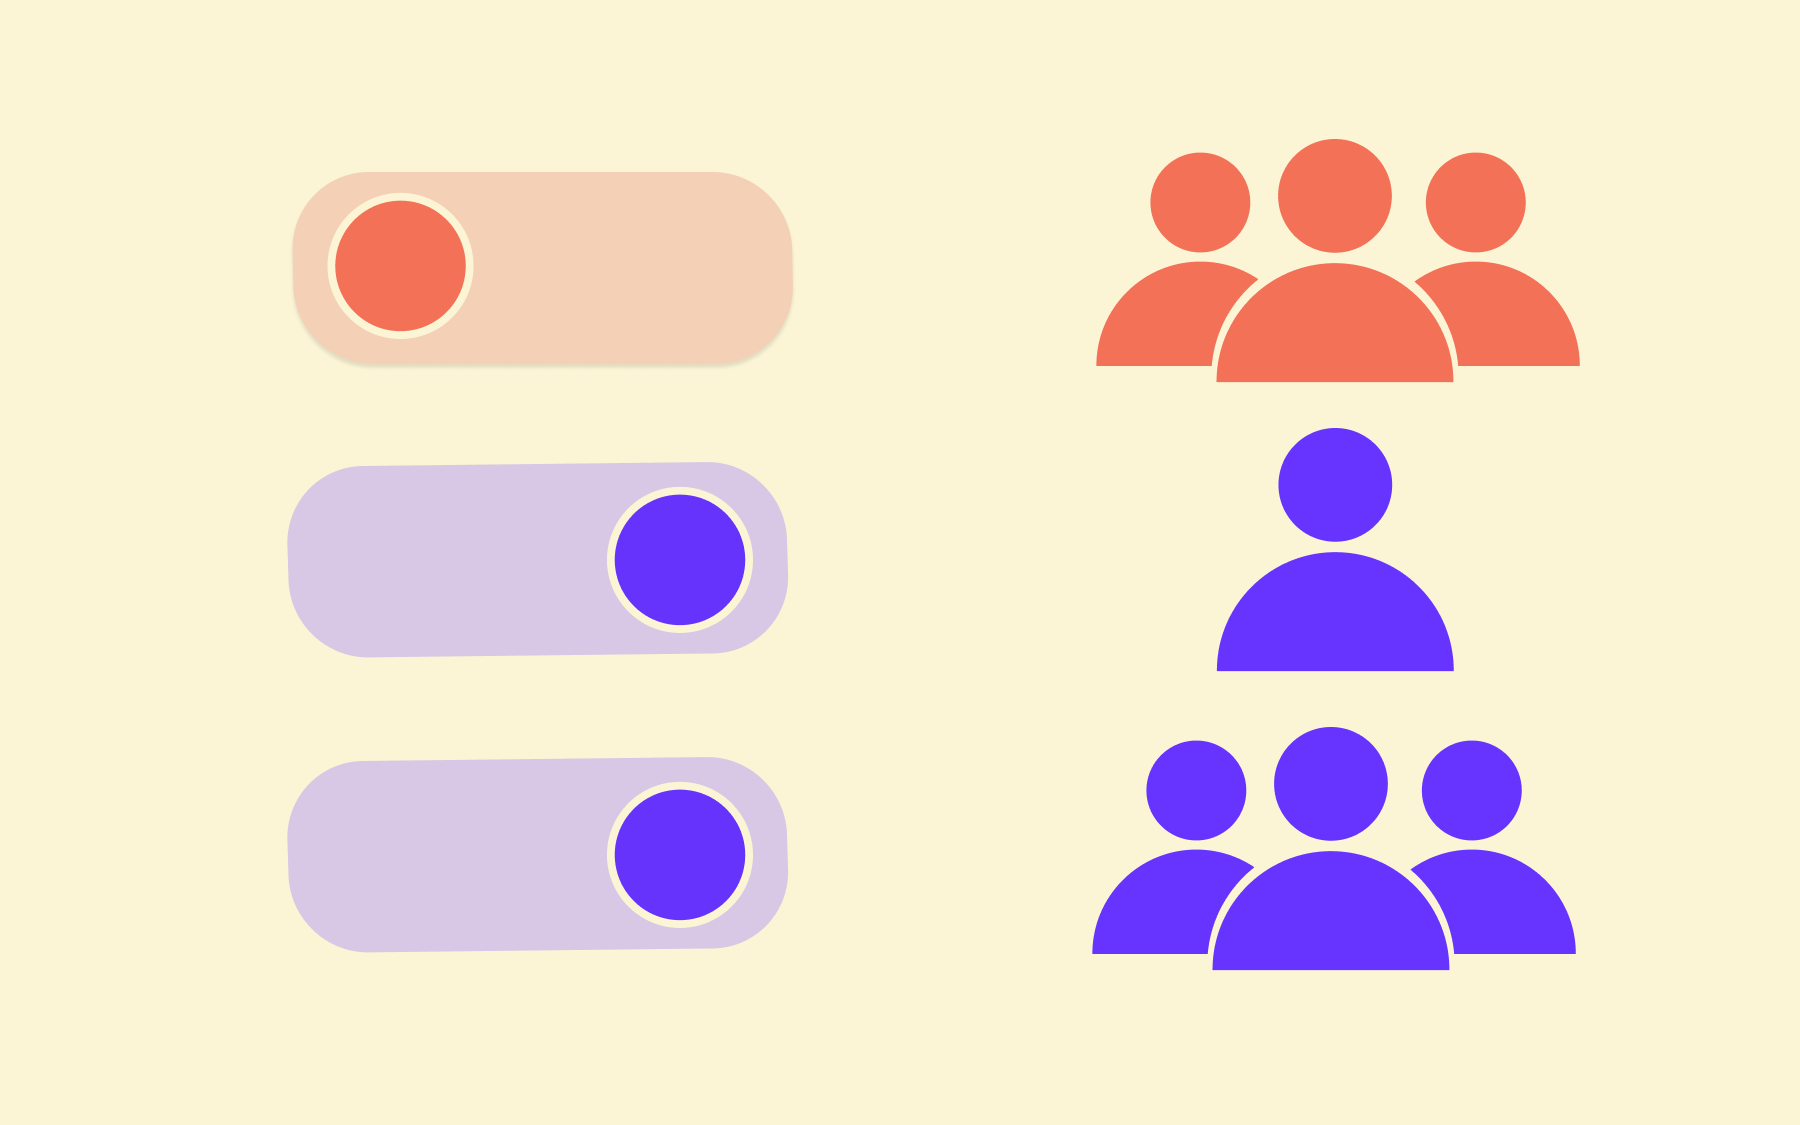
A feature flag is a software development tool that lets you decouple deploy and release. With feature flags, you can enable and disable features dynamically—without needing to deploy new code. Instead, wrap the feature in a flag and turn it on or off. You can use feature flag software for more flexibility, control and ease of flag management.
Why use feature flags?
With feature flags, you can control the way you release features to users. You can use feature flags for things like:
- Easy on/off feature toggling
- Kill switches
- A/B testing
- Staged rollouts and canary releases
- Continuous deployment
- Safe deployment and risk mitigation (lowering the risk of pushing buggy code to users)
Here are some feature toggle best practices to keep in mind if you're just getting started with flags.
Prerequisites
Prior to diving deeper into coding and feature flags in JavaScript, below are some of the good to have requisites:
- Some knowledge of Javascript and React.js is essential
- Knowing how Node.js and Yarn work are required, knowledge of adding new packages with Yarn is also needed
- A Flagsmith account will be used to create your feature flag. Register now (it's free and takes 2 minutes).
We will jump right into the code part now—brace yourself.
Example: JavaScript feature flag with React.js Dev.to app
We will build a simple React.js app that will list the latest articles from Dev.to. Dev is a community of software developers getting together to help one another out. It is an amazing community where anyone can publish technical content without any editorial process. Based on Forem it has a handy API and we are going to use the articles API to list the latest articles in a light React.js application.
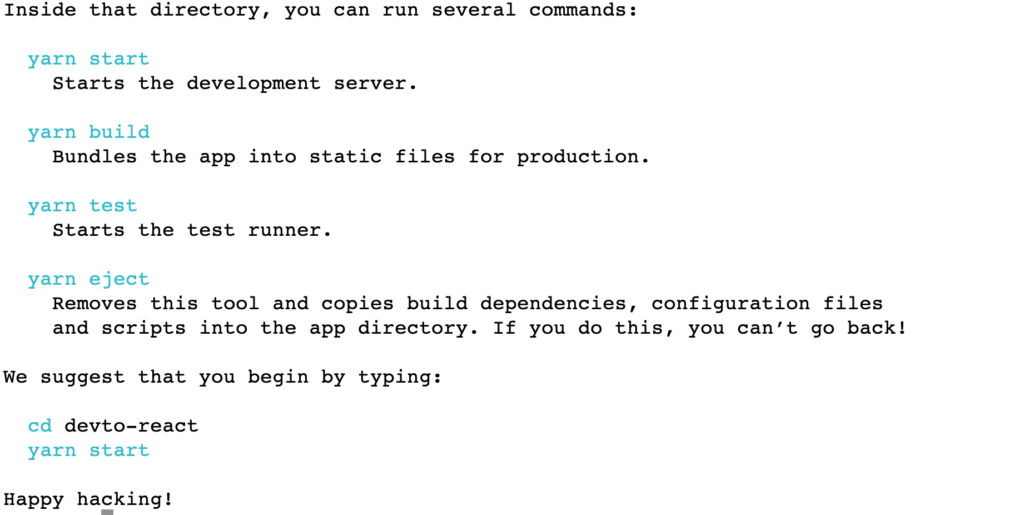
To create the React.js application using create react app, we will run the following command:
It will render output as follows when the setup is complete:
Next, we will quickly run the React.js boilerplate application to see if it is running with:
It will start the development server and open the default browser at 'http://localhost:3000' which looks like:
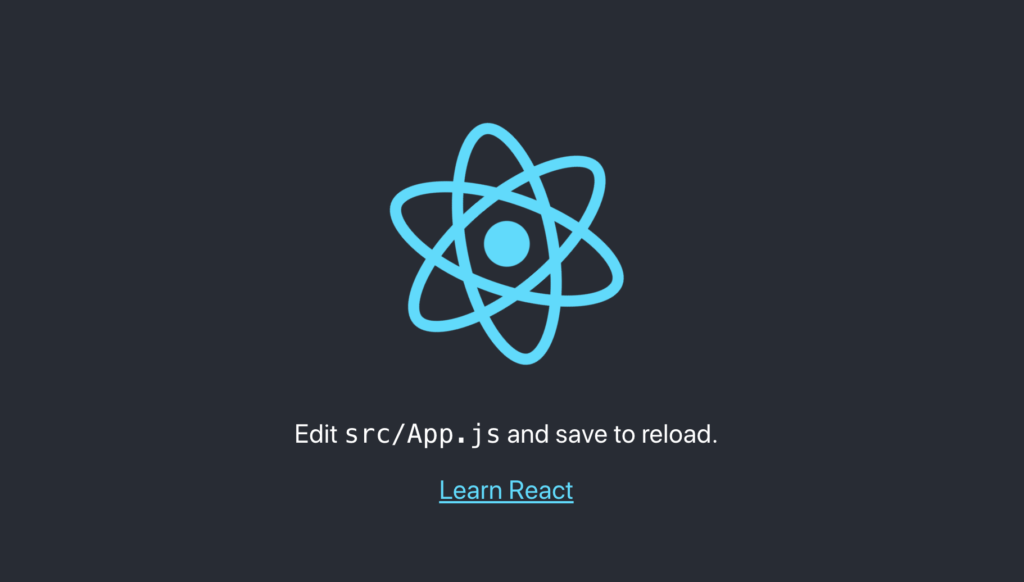
Hurray! Our skeleton React app created by Create React App for the JavaScript feature flags tutorial is running. We will change the code to call the Dev.to API next.
And will change the `src/App.js` file to look like below:
We are using the React useState hook to define two variables articles and the message. Then using the effect hook we are calling the Dev.to API in the `fetchArticles` function. The articles fetched are being put into the `articles` variable. In case of any error a message of `No articles found` is put into the message variable.
Below, in the return section, we are looping through all the fetched articles and showing the title of the article with a link to it and the name of the user who has posted the articles.
Consequently, we will change the `src/App.css` to have the following contents
The CSS has been simplified to show the list of articles, removing the unneeded styles for the logo and the background. Text color and text alignment have been reset too.
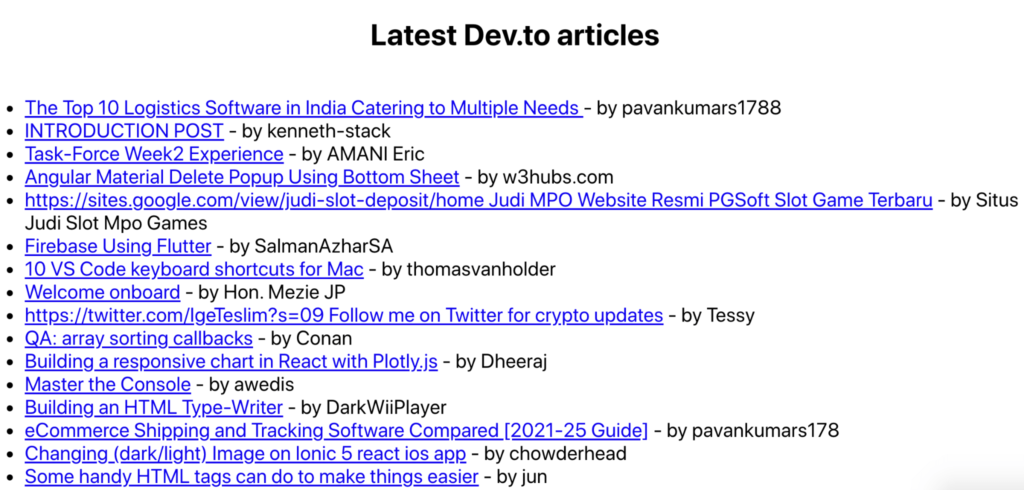
The focus of this tutorial is to help you learn how to do React feature flags with Flagsmith. When we run it with `yarn start` after making the above changes, the application looks like below at this point:
For the scope of this guide, we will add the reading time in minutes for the articles. As this small feature will be added with a feature flag in JavaScript, it will be very easy to turn it on and off simply by flipping a flag within Flagsmith; no re-deployments are necessary. That is the power and convenience of feature flags, as deployment is not a release.
In the next section, we will set up the feature flag for our example within Flagsmith’s UI. Then we will add Flagsmith’s JavaScript SDK, available on NPM, to our project. After that, we will add some code to implement the simple flag to show or hide the reading time for the Dev articles.
Setup Flagsmith for JavaScript Feature Flags
To create JavaScript feature flags to show or hide the reading time for articles we will first create a project on Flagsmith. To create the project we will click the “Create Project” button after logging in:

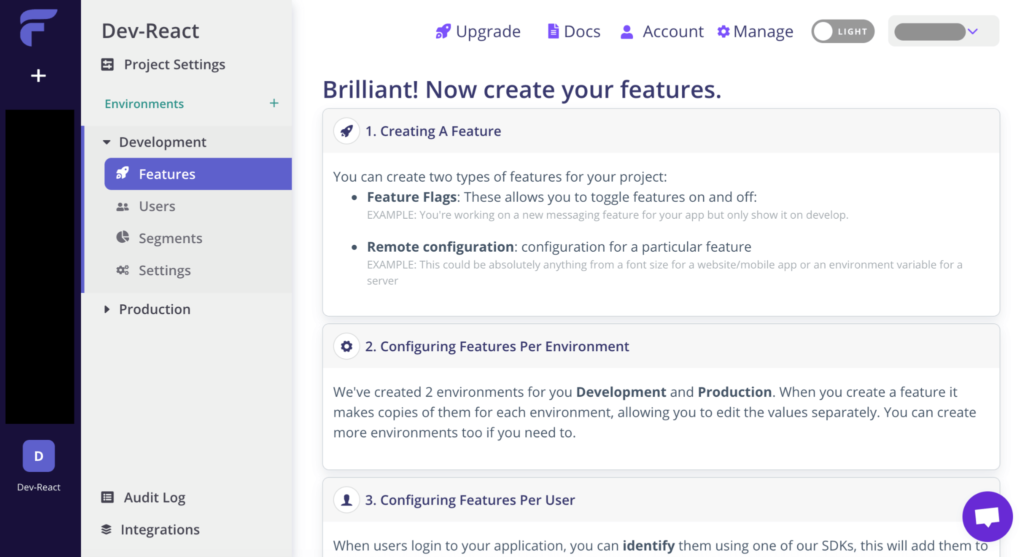
I have named the project Dev-React, and then, we will reach the project page like below:
We will scroll down the page and create a new feature flag called `show_reading_time` as seen below:
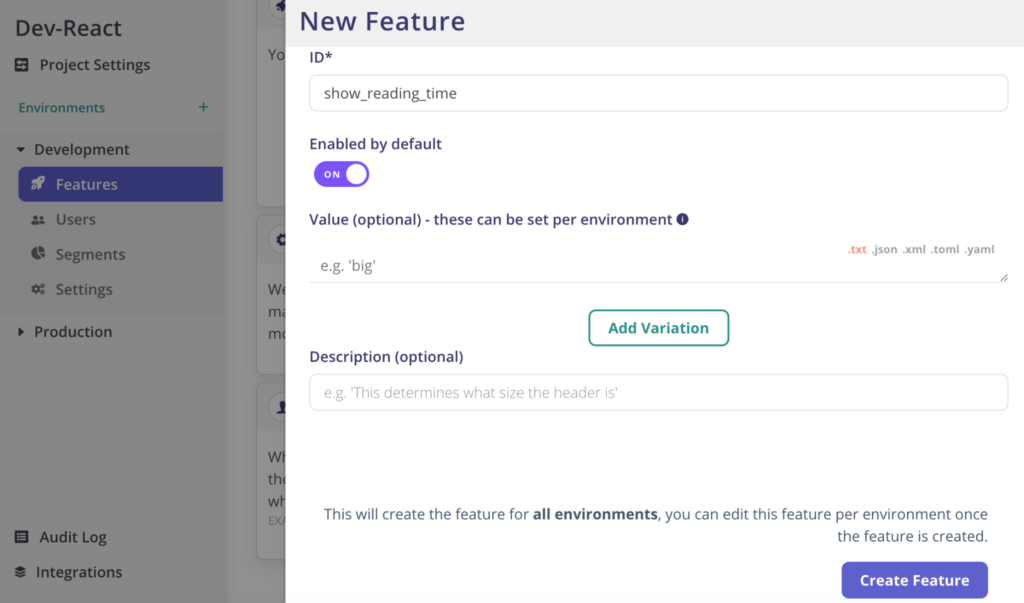
Now we have created a new feature flag called `show_reading_time` and enabled it. It would be created in both development and production environments in Flagsmith. Next, we will install the `flagsmith` NPM library and use it in the React.js app for our JavaScript feature flags tutorial.
Install and use Flagsmith JavaScript client
We have created the feature flag in Flagsmith on the UI, now it is time to use it in the Dev React app. To do this for our JavaScript feature flags tutorial, we will first get the Flagsmith JavaScript client from NPM running the following:
After the `flagsmith` client is installed we will change the code in `src/App.js`. First, we will add the following line on line 2 to import Flagsmith library into the app:
Subsequently, we will add the following at line 8 to initialize the showReadingTime variable which will be false by default:
Then we will add the code below in useEffect function below fetchArticles call at line 22 as follows:
You can get the environment ID from the “Initialize your code” section of the feature flag page as seen below:

Consequently add the following code where you see the looping through articles towards line 40:
We have first imported Flagsmith’s JavaScript client, then set the `showReadingTime` on useEffect so that it is only called once on page load. Then when we render the articles we check if the reading time should be shown and then we print the reading time else we print the empty string. Next up we will see the changes in action.
Test javascript feature flags
At this point if we again start the app it will show something like the below:
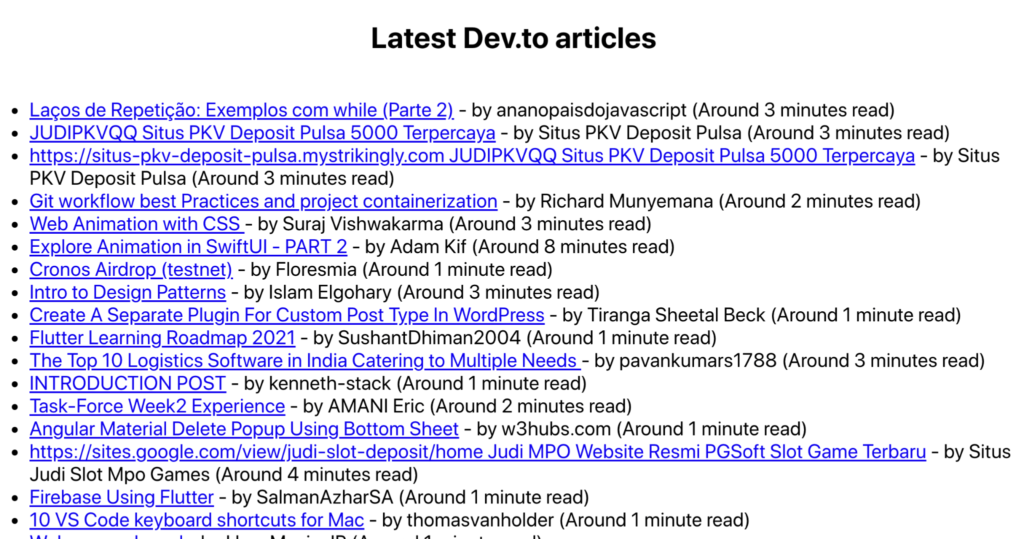
Great! We can see the reading time of the articles. Now if we would like to turn off showing the reading time, it is very easy. We can just go to the Flagsmith interface and turn the JavaScript feature off like below:
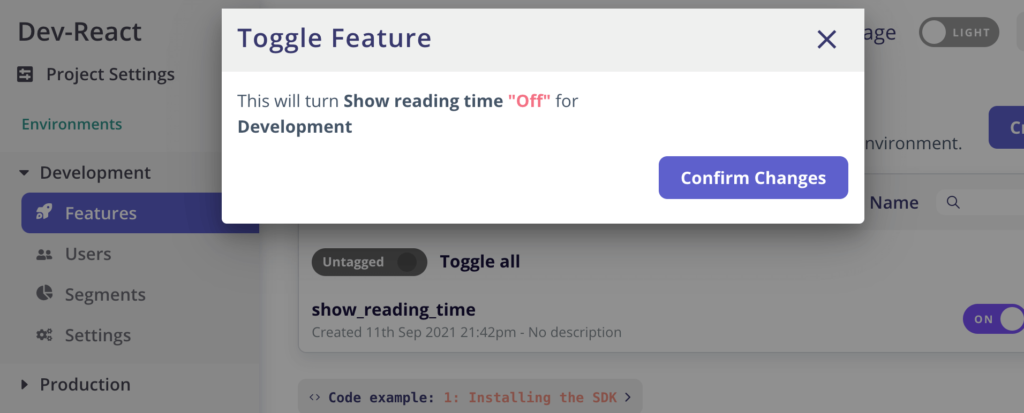
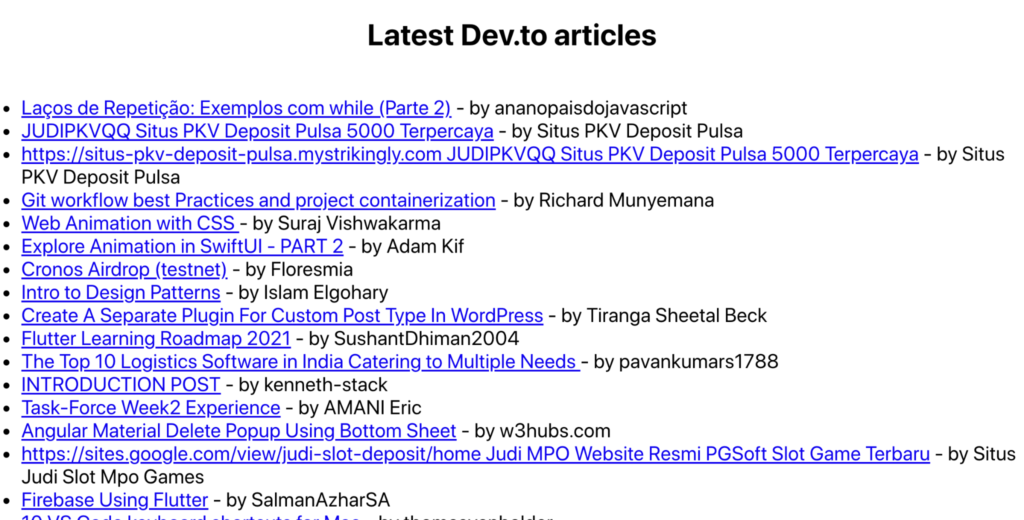
After we hit “Confirm Changes” and the flag is off, if we come back and refresh the Dev React app page used for our example we will not see the reading times anymore as follows:
Wasn’t that easy? You can deploy the app and change the environment ID to be production for your production environment. In the next step, we will deploy the react application to Surge.
Deploy React App to Surge.sh (React Feature Flag)
We have run the application locally, so to deploy it to a more production-like environment we will use Surge.sh. It is a very easy platform to deploy our front-end application. To deploy our React application to surge first we will replace the key from development to production one. To do this we will go to the “Production” environment and then click “Initialising your project” under the features section as seen below:
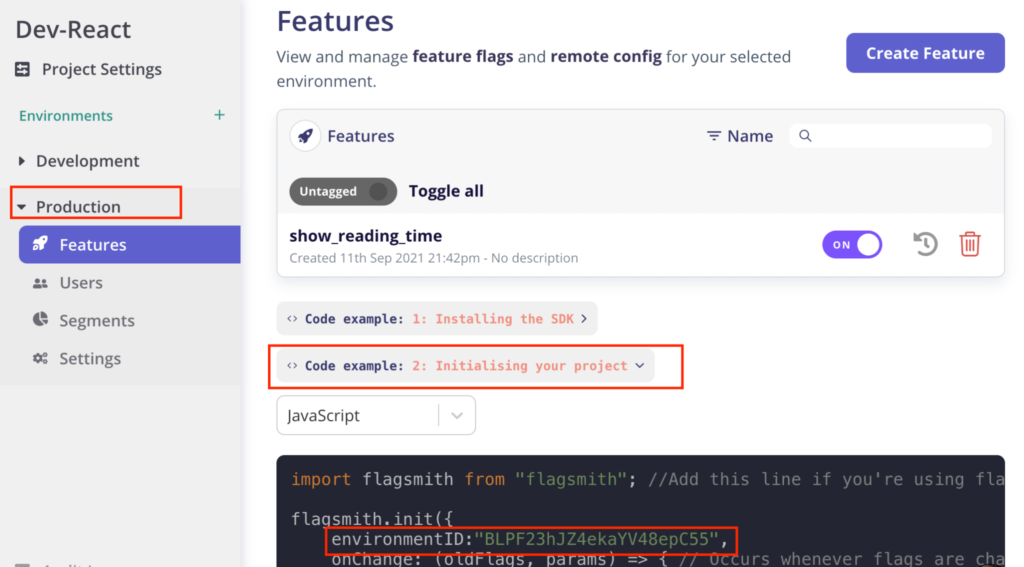
We had done a similar thing for the development environment, as we want to deploy to a production-like environment we are replacing the environment ID to be of production. We will copy the environment id and replace it on line 23 of src/App.js which will look like below after the change:
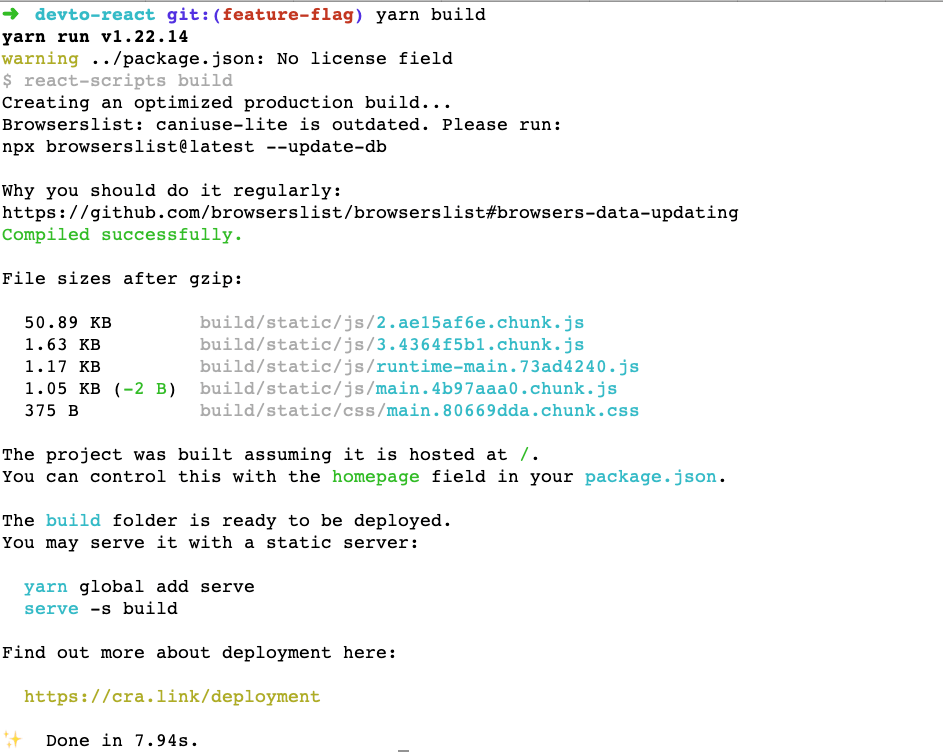
To deploy our Dev.to React app to surge we will run the following commands:
It will give the following output:
It will also create a `build` folder with the output of the build process which has the index.html file and other static assets.
To install the Surge command line we will run the following:
Consequently, we will go into the build folder and deploy the built app with:
After that type in your email and a password. Then it will find your current working directory as the project. Then if you want, change the subdomain, I have used `devto-react.surge.sh` else use the random subdomain it provides. The hit enter and in a couple of seconds your app will be deployed to Surge over a CDN as seen below:

Pretty neat! Below is how the app looks on Surge.sh with the toggle for reading time “on” for Javascript feature flag, taken from the “production” environment:
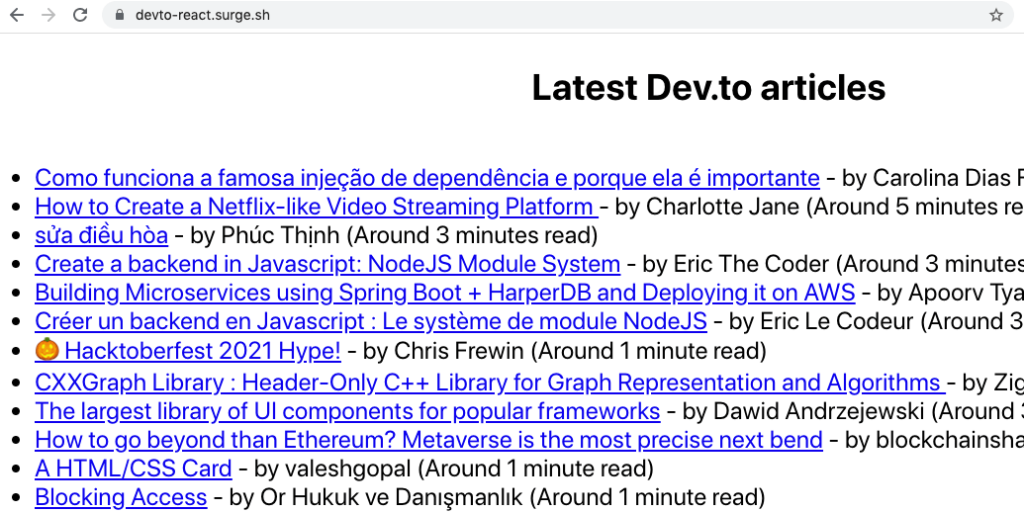
You can try it out too at https://devto-react.surge.sh. You will get an email to verify your email address, if you are interested in Surge do check out their help section. In the following part, we will look at the next steps.
Next Steps
Implementing flags in JavaScript is a pretty easy task with amazing benefits. You can use the same Flagsmith JavaScript client in any frontend application ranging from vanilla JavaScript to Jquery to even Angular or Vue.js applications. It is also possible to use the SDK from a CDN with the following code:
The main concept here is to deploy the feature safely, if there is an issue we should be able to turn it off in seconds, not minutes or hours. That is easily possible with feature flags on an open-source platform like Flagsmith or with the free plan. The feature can be turned on and off with a couple of clicks, not with a deployment process. That adds unprecedented power and flexibility to the software engineering teams. The safety of feature release is another desirable by-product of the whole process. By the way, you definitely need to check feature toggle best practices.
Conclusion
We just saw how to implement JavaScript feature toggles on a simple React.js app that calls an API to show the latest Dev articles. This idea can be easily implemented in any frontend JavaScript application. Feature release can be done safely with high confidence and low time to turn on or off the released feature without the need to deploy any new code.
More Reading
If you enjoyed this guide for feature flags in JS, Check out these feature flag how-to guides:
- Angular feature flags
- Python feature flags
- Java feature flags
- Ruby feature flags
- Flutter feature flags
- NodeJS feature flags
- Spring Boot feature flags
- PHP feature flags
- Golang feature flags
- Kotlin/Android feature flags
- React Native Remote Config
- Swift feature flags
- .Net feature flags


OpenTelemetry, without the vendor lock-in: Introducing full observability for Open Source and Self-Hosted Flagsmith customers


.png)
.png)

.png)

.png)


.png)


.webp)