
Ruby Feature Flags: A Step-by-Step Guide to Implementing Feature Flags in a Ruby on Rails Application


This article covers the steps to create Ruby feature flags in basic Ruby on Rails applications. This approach can also be applied to any other Ruby web framework, such as Sinatra or Volt. Before we get started with the Ruby feature flag implementation, let's quickly talk about why we'd want to use feature flags.
Why Use Feature Flags?
Feature flags let developers make changes to products without interfering with the user experience. We can use feature flags to quickly and simply enable or disable individual features in our product. This is excellent for testing new features or updates to current features without impacting the user experience in a production setting.
Feature flags can be used to oversee the distribution of new features to users. Instead of delivering a full software update containing all of the changes all at once, developers can use feature flags to gradually roll out the upgrades to a select group of users first, allowing any issues to be spotted and resolved before rolling it out to all users.
Let’s get started with Ruby Feature Flags!
Example Feature Flag Use Case
Let's suppose you want to bring a new feature to a banking app you oversee; feature toggling can be used to temporarily enable or disable specific portions for specific customers.
Say a bank wants to collect new customers' names and age demographics. They can wrap the feature in a feature flag, letting them selectively enable or disable it after its initial release. This lets organisations quickly alter the feature for certain customers or groups of users without having to redeploy the entire code base.
A few practical advantages of implementing feature flags in Ruby on Rails applications:
1. Customer experience: You can get important insights about your consumer base by gathering names and age demographics. This data can help you personalise your services, tailor your marketing activities, and provide a more personalized consumer experience.
2. Risk mitigation: Deploying a new feature to collect consumer data throughout the entire app might be risky because it may produce unexpected errors or have an influence on the overall user experience.
3. Flag options: Ruby feature flags can also be used in other ways—such as enabling or disabling specific user interface elements, A/B testing, and enabling or disabling bug patches. Feature flags enable teams to quickly launch, adapt, and develop their products while minimising interruption to existing users' experiences.
Setting Up
Here are the prerequisites:
- Ruby on Rails app
- Flagsmith account
To begin with the Ruby feature flags banking example, we must make an account on Flagsmith. It supports simple sign-in using Google or GitHub. Alternatively, you can simply fill out your basic information by creating a free account.
As you sign up, it will ask you to create an organisation, which you can name whatever you like; for this tutorial, I'll be using the title "ruby feature flag tutorial".)
Once you have created an organisation, you need to create a project inside this organisation.
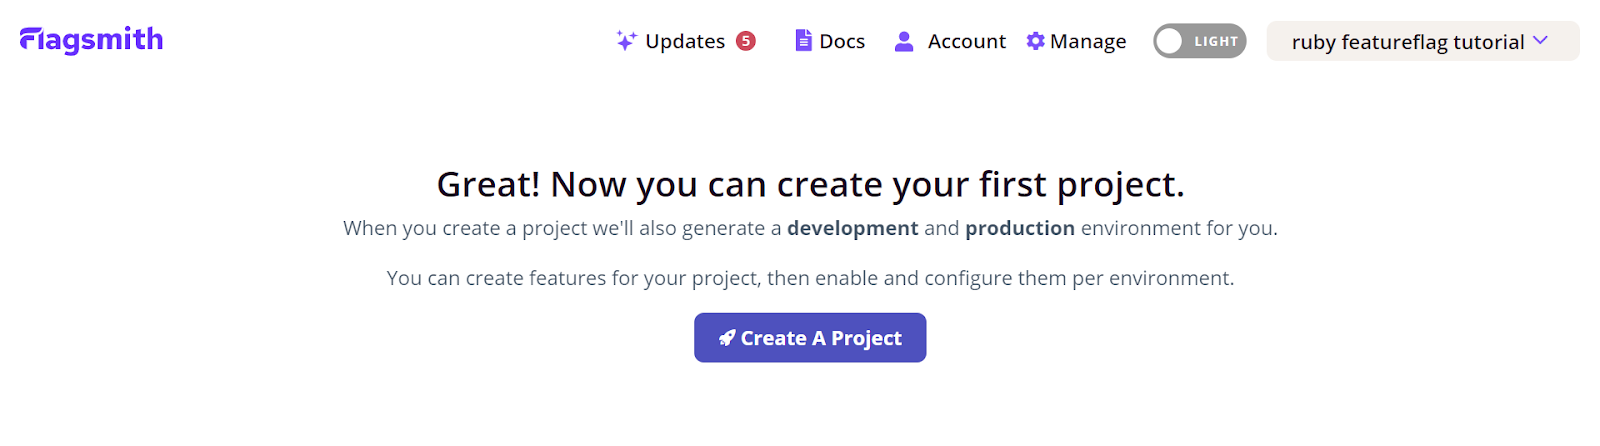
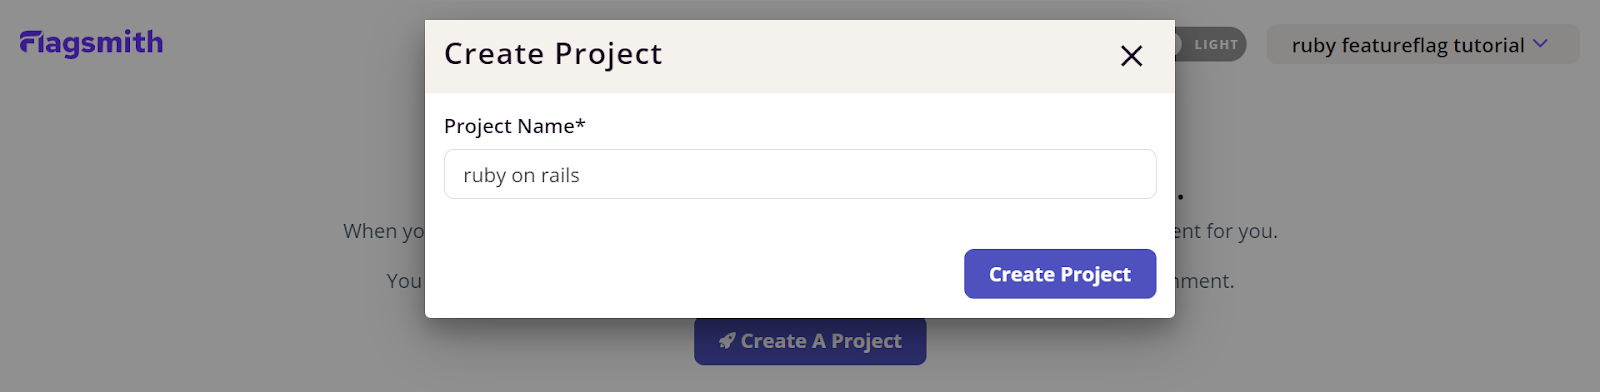
Click on “Create A Project”. The below screen should pop up. Enter your project name. Feel free to name it as you want.
Congrats! You have already finished the Flagsmith configuration process. You should now see the screen below.
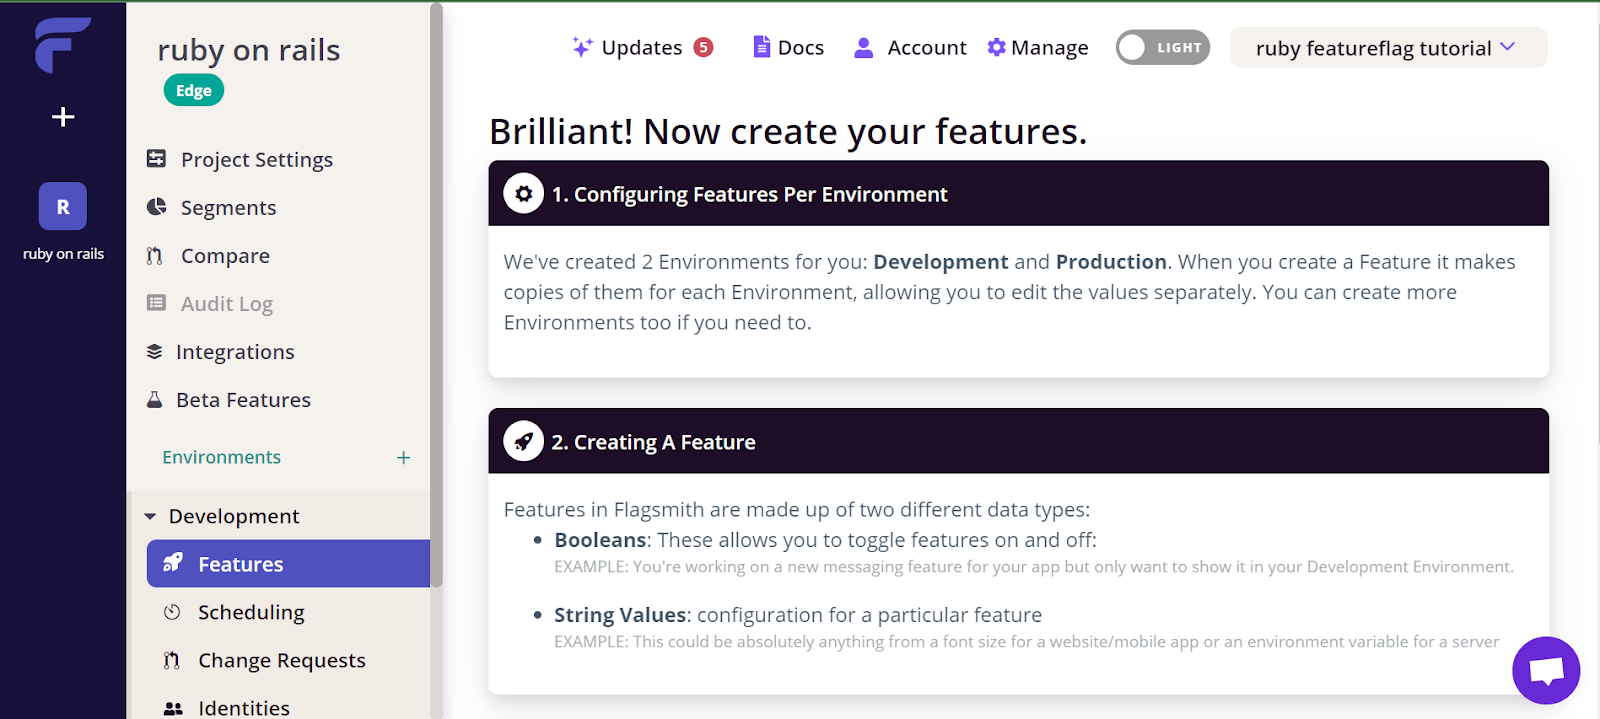
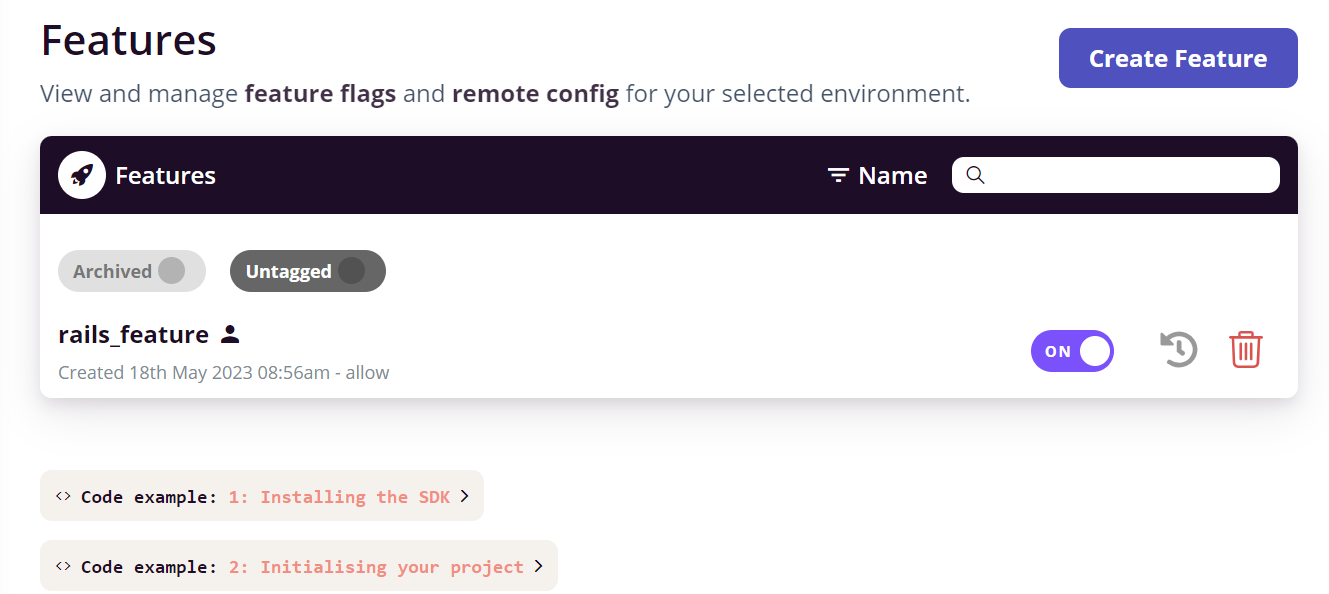
Now that we have a project, we should see that we already have two environments: Development and Production. I shall just use the 'Development' environment for the rest of this post.
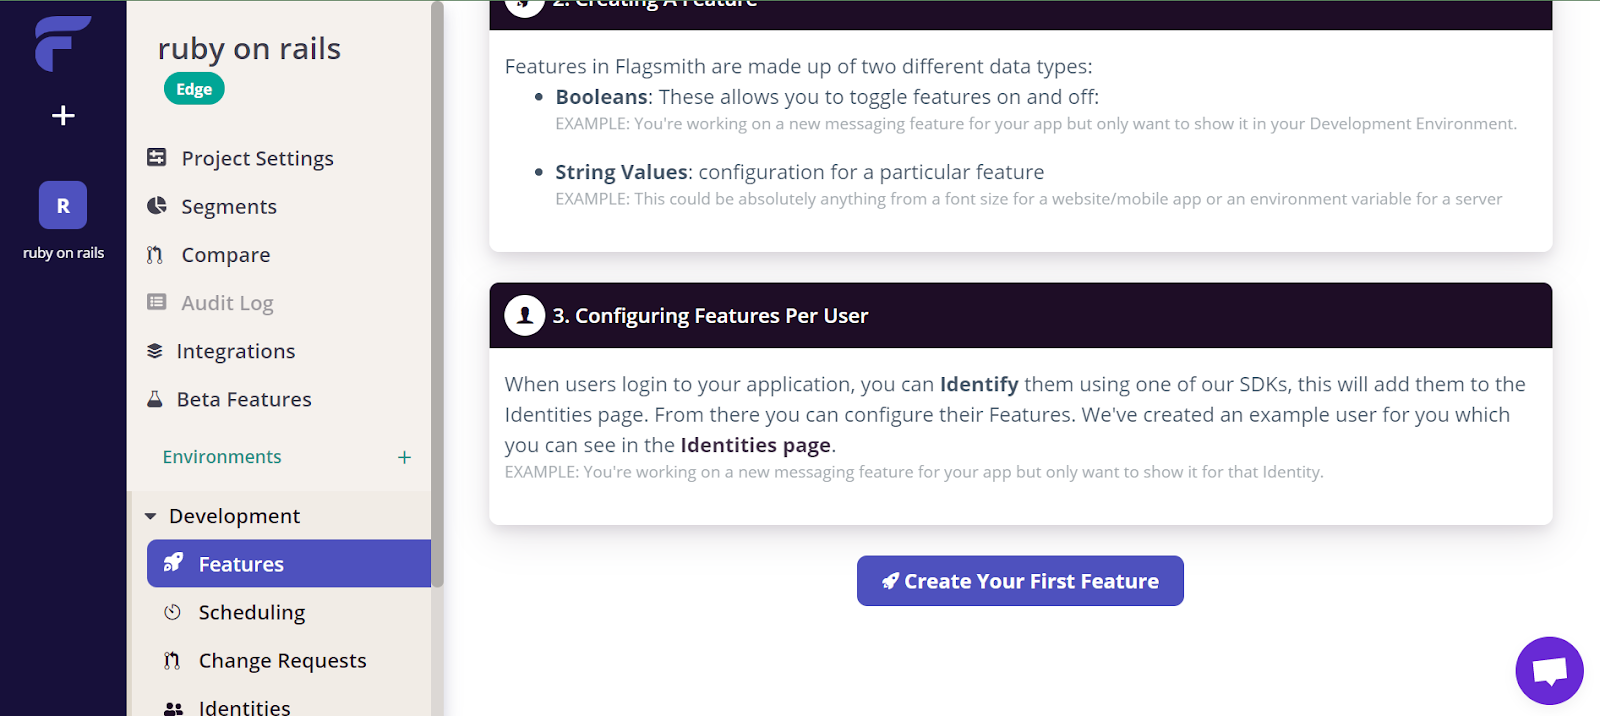
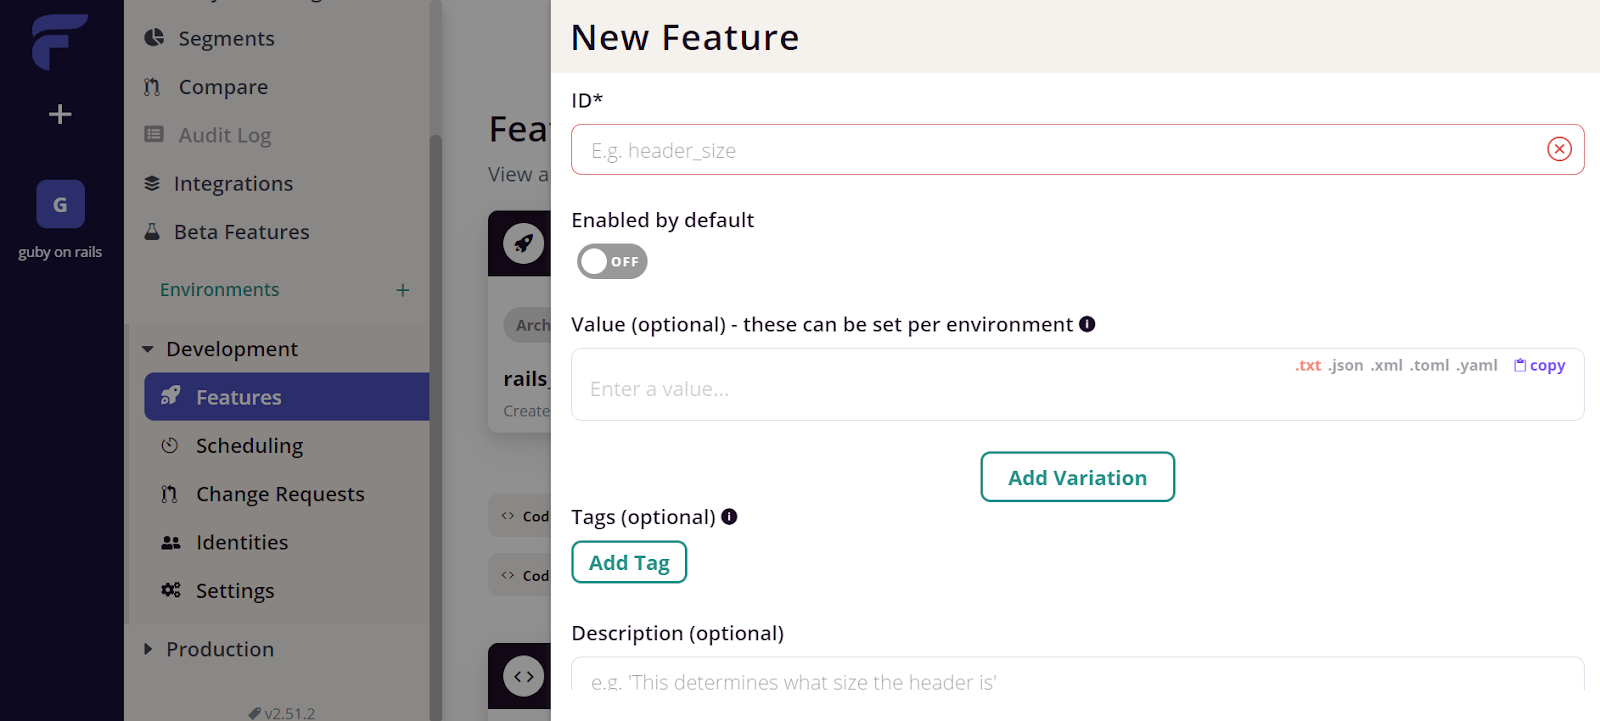
Click on “Create Your First Feature”.
Here, I will create a feature called “rails_feature”. Again, you can name it whatever you like. This will control whether or not we allow a certain action. Turn “Enabled by default” to “true”.
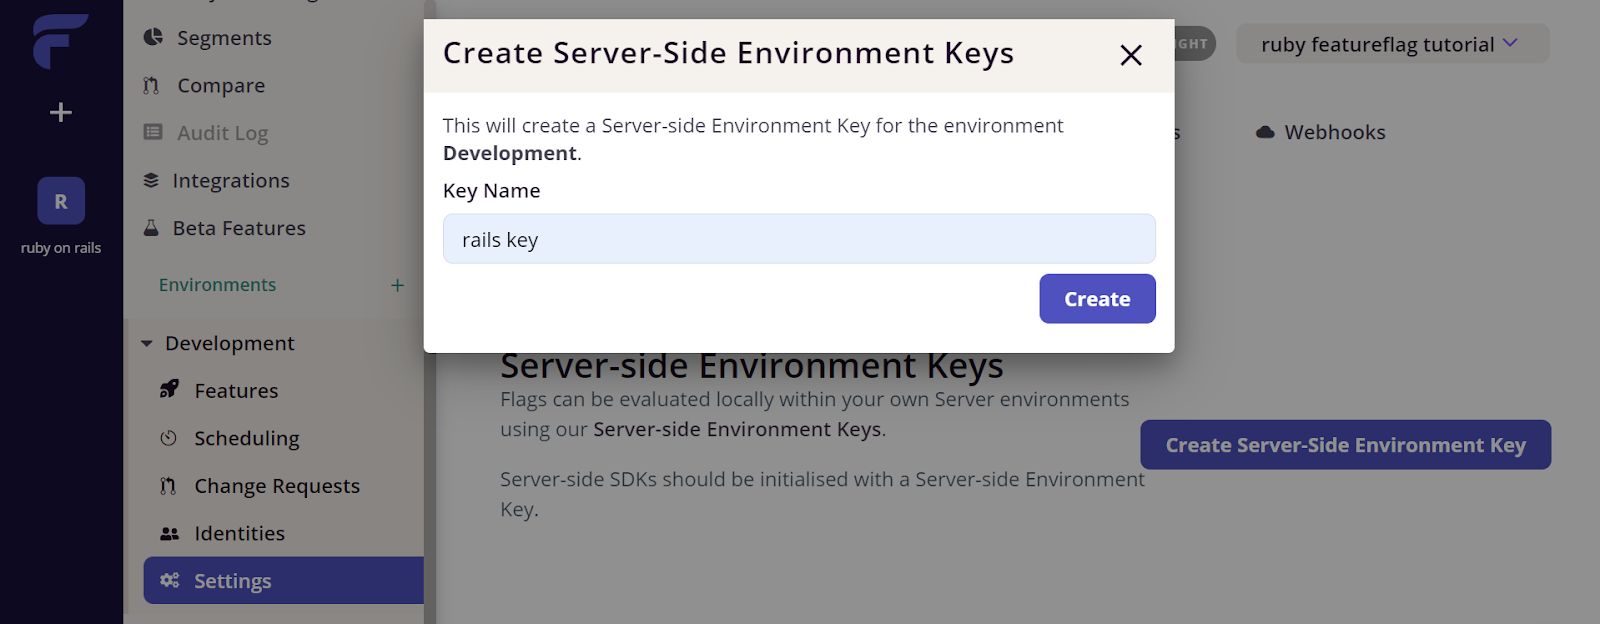
To begin, we must generate a key for use in our Ruby on Rails application. Navigate to “Settings” under the Development environment and select “keys” there, click on ‘Create Server-Side Environment Key’. And name it as you want.
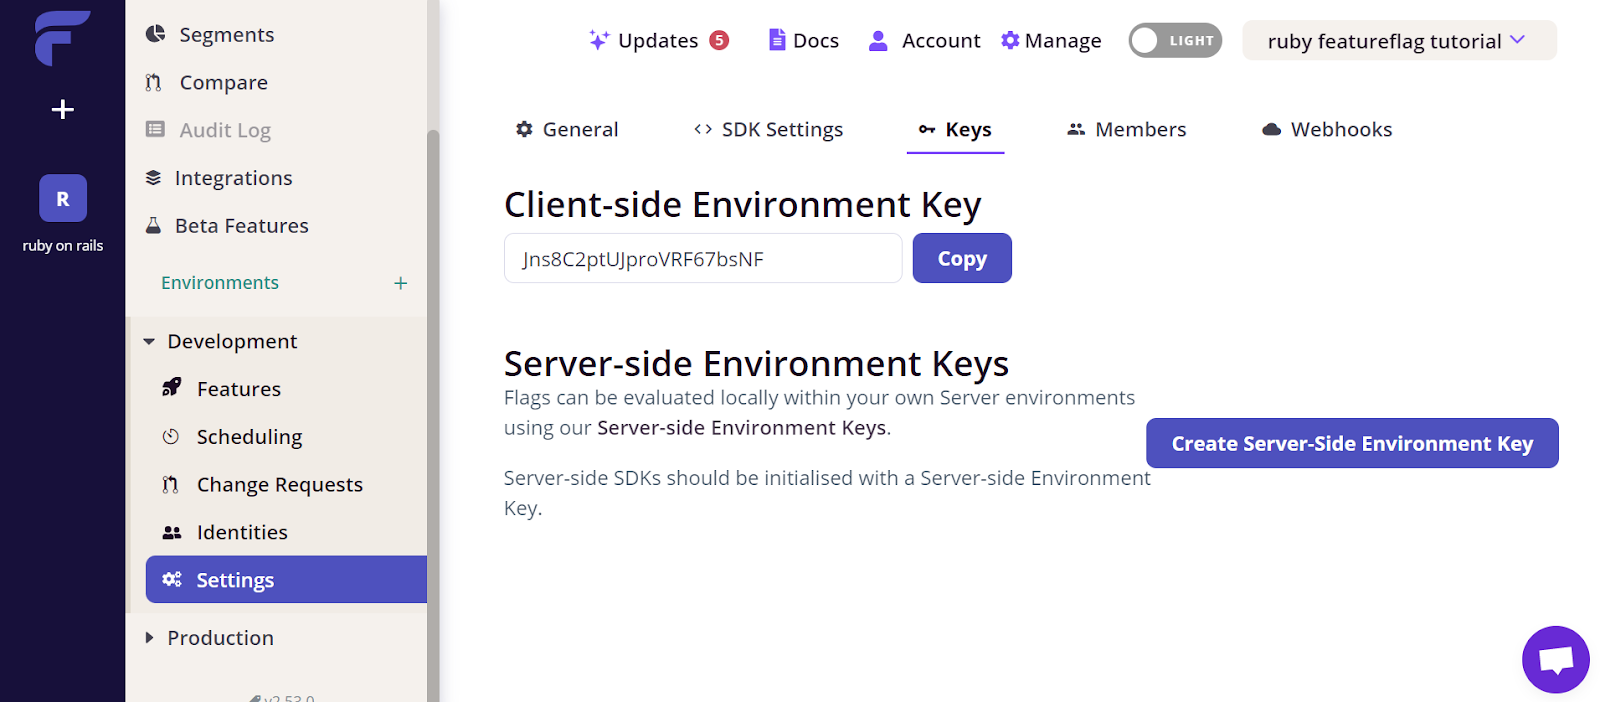
Finally, you will get a server-side environment key which will be required later on. You can use the feature flag environment key to test the effect and address any potential issues before releasing it to a larger audience.

Let’s code!
Step 1. Creating our Ruby on Rails Basic App
We'll go over how to develop a basic Ruby on Rails application for this tutorial. We are opting to make a basic app that will gather some data for a banking organisation so that they can improve their customer service and will host it on your local machine. This whole code is for implementing the feature flags in the Ruby on Rails application.
To begin, first, open a terminal and check the ruby version.
Code:
Ruby -v
Output:
Ruby 3.2.2
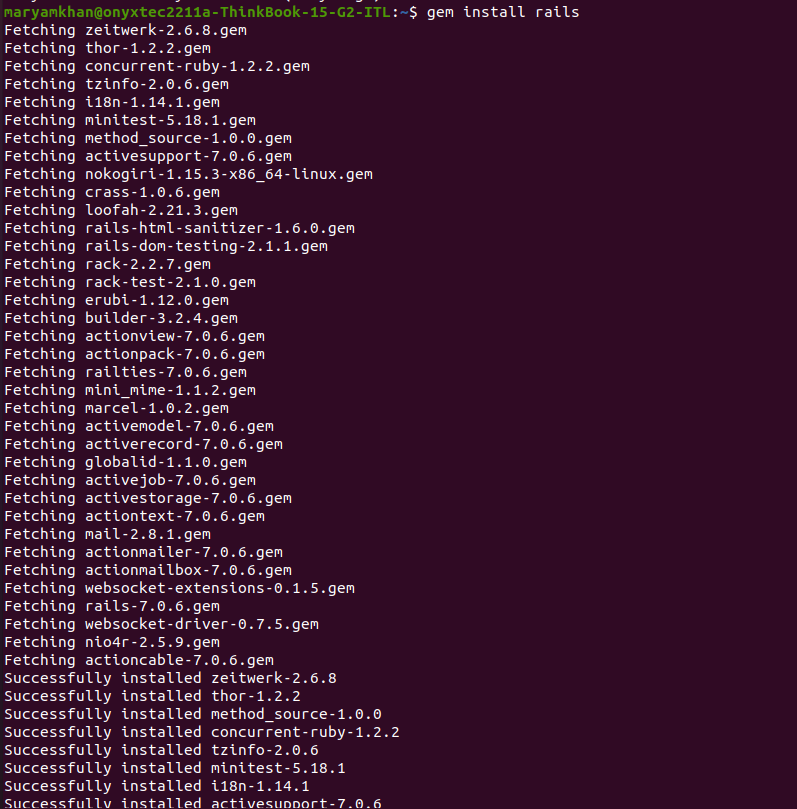
You should then Install the Rails framework for your application. Open a command line and type:
Code:
gem install rails
Output:
If the rails are already installed, try to update it so it is the most updated version.
Code:
Gem update rails
output:

Navigate to the directory wherever you want to save your application here; we navigate to the desktop for convenience.
Code:
cd Desktop
The cd Desktop command will change the current working directory to the Desktop directory.
After that, create a basic Ruby on Rails app.
Code:
rails new myapp
This will create a new Rails application in a directory called myapp.

Just to view the initial app link, you can write the following code;
Code:
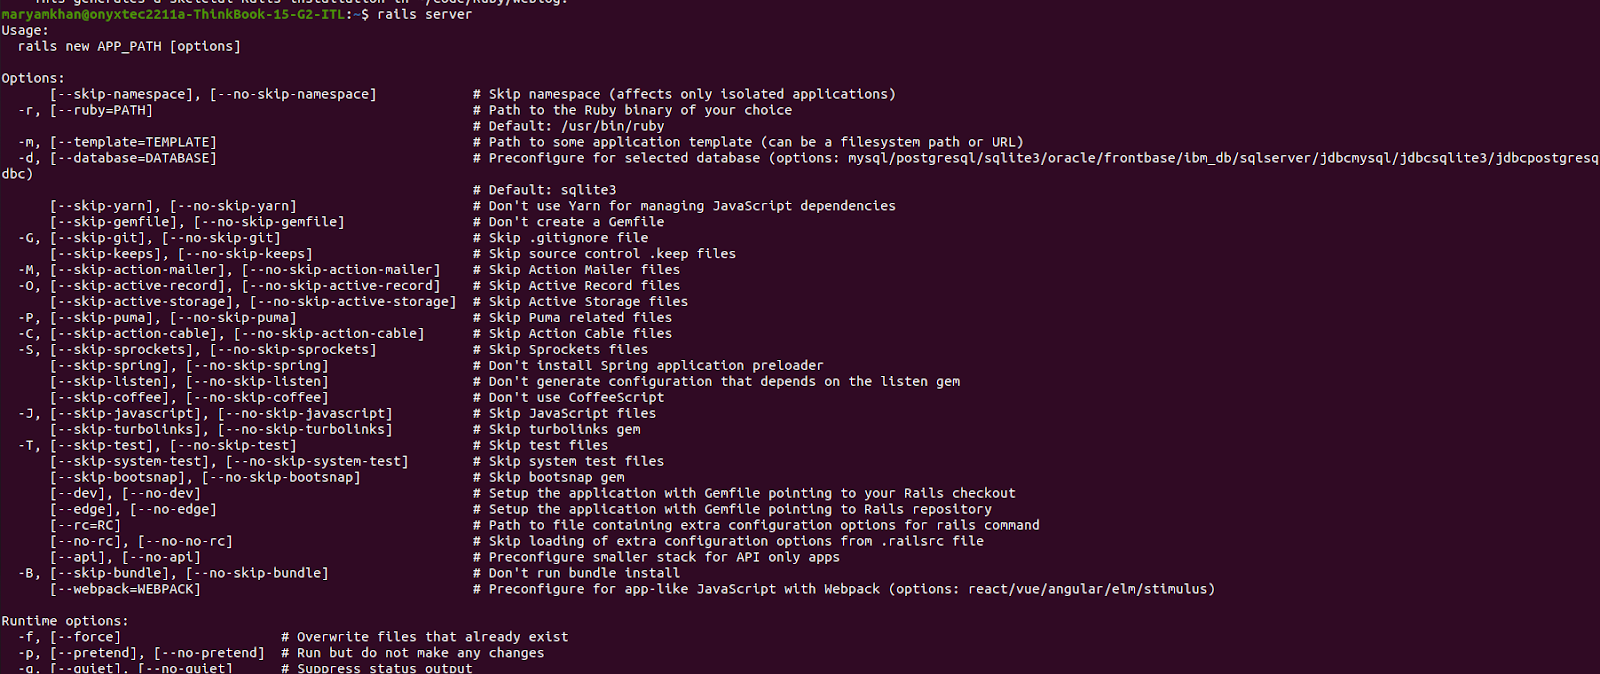
cd my app
rails server
From there, you will get the localhost link copy that links and open your web browser and paste the link (http://localhost:3000)
Step 2. Install the Flagsmith gem
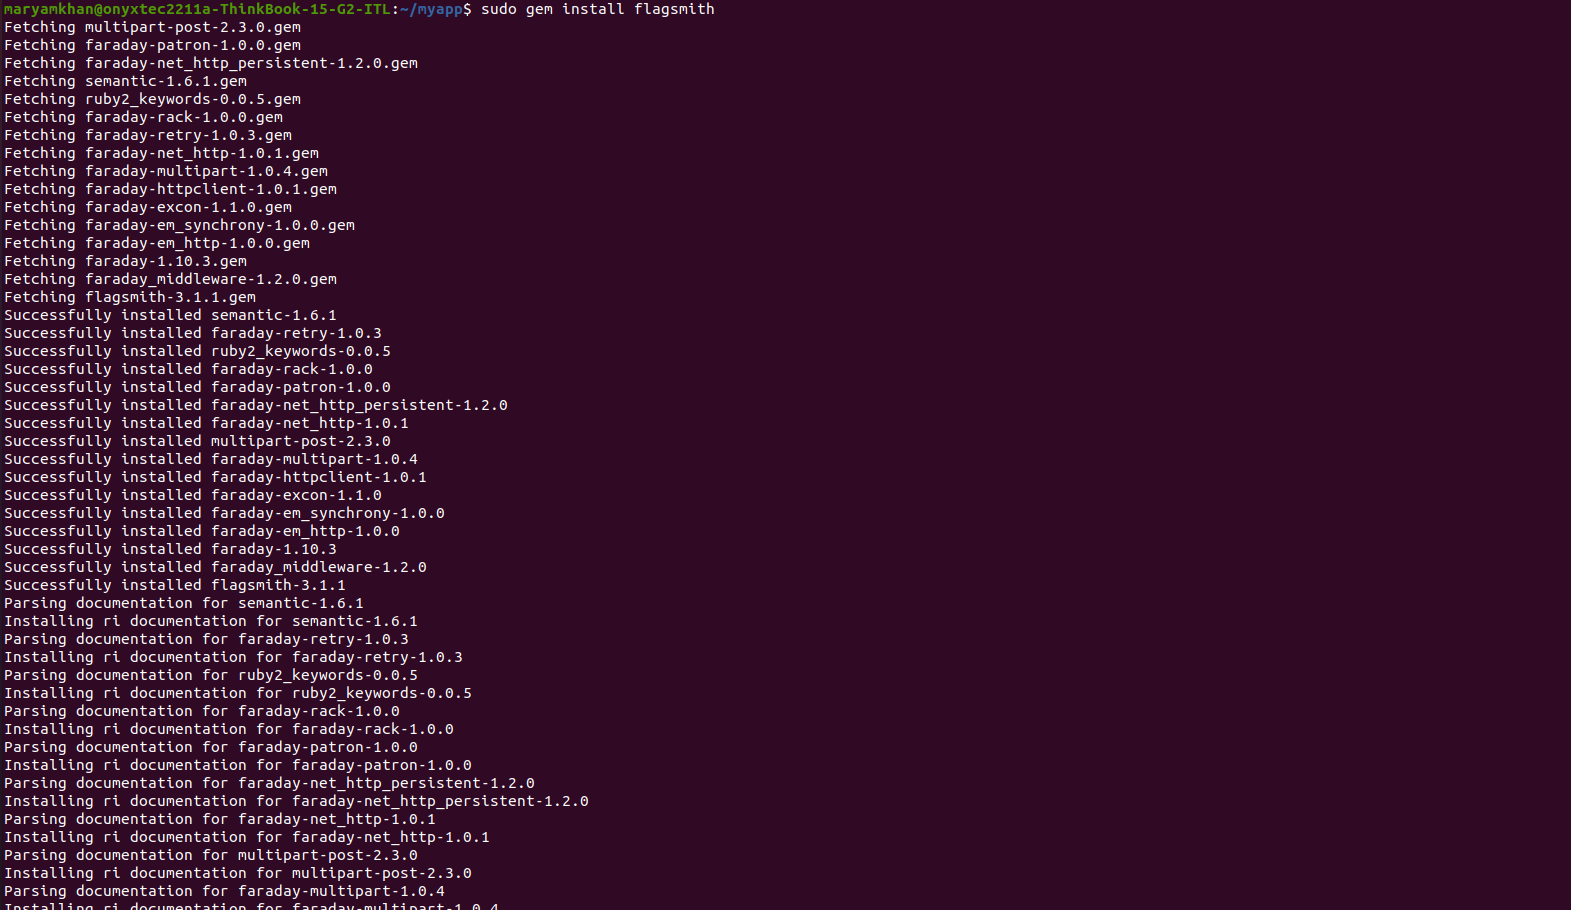
Navigate to the myapp directory and add the flagsmith-ruby gem to your Gemfile in the directory. Include the following line in the file:
sudo gem install flagsmith
Output:
Step 3. Flagsmith Configuration
Create a new initializer file for Flagsmith at config/initializers/flagsmith.rb with the following content.
Code:
require ‘flagsmith’
$flagsmith = Flagsmith::Client.new(
environment_key: '<FLAGSMITH_SERVER_SIDE_ENVIRONMENT_KEY>' )
Instead of the <FLAGSMITH_SERVER_SIDE_ENVIRONMENT_KEY> you should write your server-side environment key that you got while creating the feature flag in earlier steps.
_
Step 4. Modifying the App
We will begin constructing a basic app for a bank by activating feature flagging so that they may store data of certain specific customers which will make it easier for them to make certain decisions.
First, we create a Welcome controller and observe. To create a Welcome controller, type the following command into your terminal:
Code:
rails generate controller Welcome index
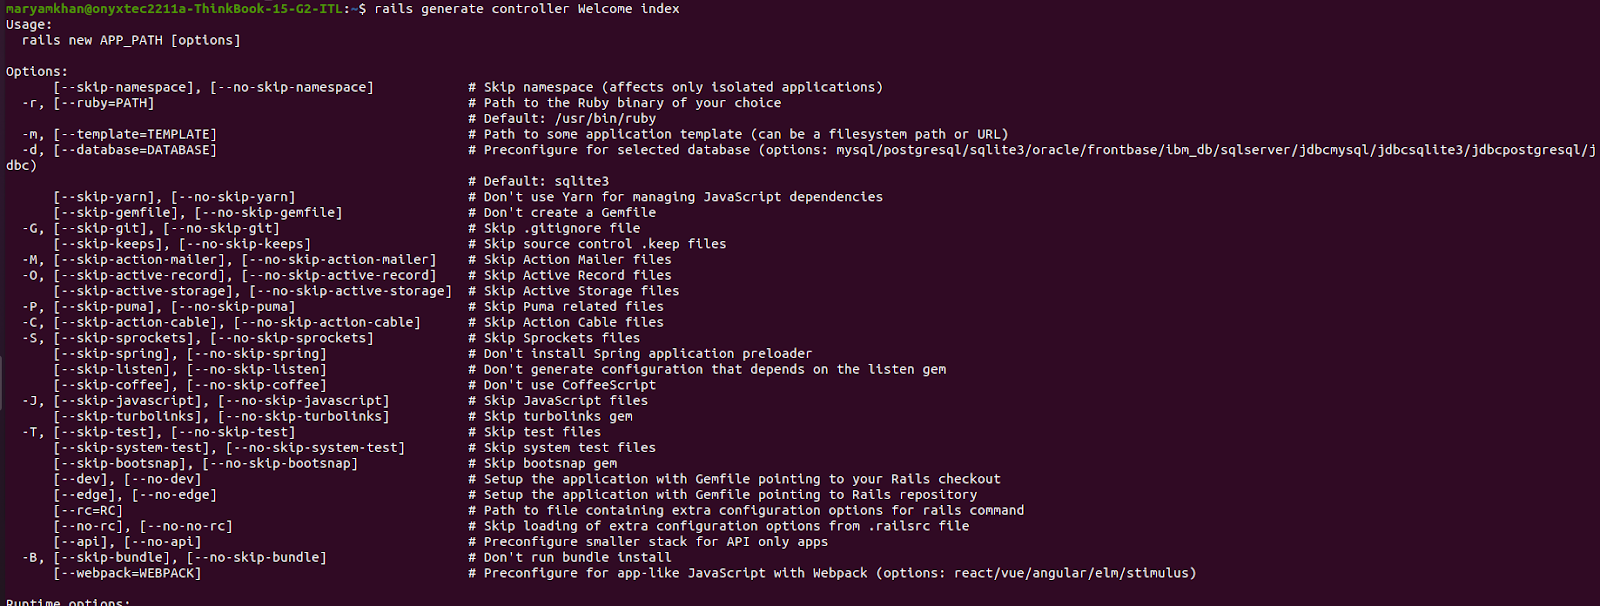
This will create a “welcome_controller.rb” controller file in the app/controllers directory and an index.html.erb view file in the app/views/welcome directory.

After that, change the Welcome view, and replace the contents of the app/views/ welcome/index.html.erb file with the following code:
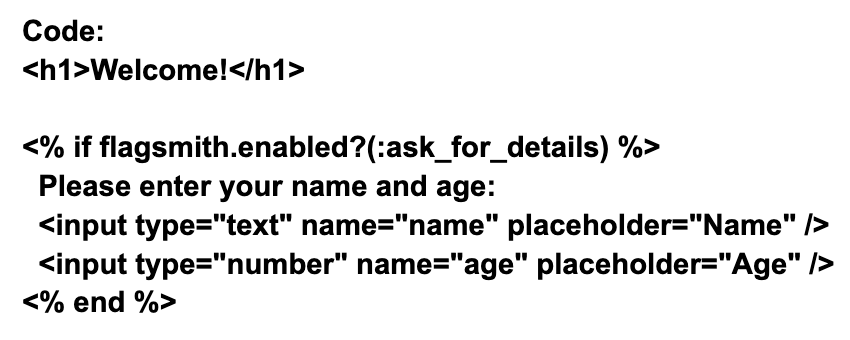
This is a combination of HTML and Embedded Ruby (ERB). The h1 tag generates a huge header with the text "Welcome!". A Ruby code block is denoted by the <%%> tags. The code within the block checks to see if the Flagsmith gem has enabled the "ask_for_details" flag. If enabled, the code will display two input fields in which the user can enter their name and age.
Step5. Test the Application
Lastly, to start the Rails server, run the following command:
Code:
rails server
Output:
Run the application through its paces; the link will be given to you by the rails server: Navigate to http://[::1]:3000/welcome/index in your web browser. You should see the heading “Welcome!” If the ask_for_details feature flag is enabled, the form will also ask for the user’s name and age.
In step 4, remember to replace ‘FLAGSMITH_SERVER_SIDE_ENVIRONMENT_KEY’ with your actual Flagsmith SDK key.
Using Local Evaluation
For Ruby on Rails feature flags, using Flagsmith's Local Evaluation mode provides a compromise between real-time updates and increased performance, making it a perfect solution for large-scale systems that require dynamic feature flagging without sacrificing responsiveness.
You may optimize performance and minimize latency by enabling Local Evaluation mode in your Ruby on Rails project using Flagsmith. This tells the flagsmith client to evaluate flags locally using data retrieved periodically from the API, decreasing your application's reliance on external API calls at evaluation time and allowing it to handle more requests per second.
To use Flagsmith and activate Local Evaluation mode in a Ruby on Rails app, change the Flagsmith settings and set the enable_local_evaluation option to true.
Let's make the necessary adjustments to our existing Rails app:
Update Flagsmith Configuration
Add the enable_local_evaluation option to your Flagsmith initializer (config/initializers/flagsmith.rb) and set it to true:
Code
require 'flagsmith'
flagsmith = Flagsmith::Client.new(
environment_key:'<FLAGSMITH_SERVER_SIDE_ENVIRONMENT_KEY>',
enable_local_evaluation:true)
Why Use Feature Flags for Your Ruby App?
Feature flags enable you to control your application and confidently distribute new features remotely. At their most basic, you can use them as feature toggles to show/mask new features (which is the use case we will focus on), but they can also become very powerful, allowing you to roll out features to a fraction of your users gradually or to show particular features only to a subset of your users.
Feature flags can also be used to hold data from remote application configurations such as YAML or JSON. Ruby feature flags can be used to customize the behavior of your code. Setting up a feature flag allows you to alter the performance of your code based on the value of the feature flag. Let's say you have to change the color of a button on your website frequently without deploying new code, and you may put up a feature flag to handle it.
Conclusion
This banking app example shows how Ruby feature flags may be used to collect client information in a controlled and iterative fashion. You may launch new features, collect useful data, and improve your services by employing feature flags without affecting the user experience or risking potential setbacks. This real-world application demonstrates the potential and adaptability of feature flags in improving and evolving digital products.
This is a basic tutorial to show you how to get started with feature flags in the Ruby on Rails app. With feature flagging, you can ensure that your application is functioning properly and that you can give a good user experience.
To begin utilizing Flagsmith as your Ruby on Rails feature toggle software, simply create an account here or contact us for an on-premises solution.
More reading
- Java feature flags
- Python feature flags
- Flutter feature flags
- JavaScript feature flags
- Angular feature flags
- Spring Boot feature flags
- PHP feature flags
- Golang feature flags
- Kotlin/Android feature flags
- React Native Remote Config
- Swift feature flags
- .Net feature flags
- Node.js feature flags


OpenTelemetry, without the vendor lock-in: Introducing full observability for Open Source and Self-Hosted Flagsmith customers


.png)
.png)

.png)

.png)


.png)


.webp)